Saturday 31 August 2013

Blogger on my phone...... who knew!

One more card..... for now anyway x

Debs x

ha ha - its not vampire rose..... its Christmas time x

Hello again

Have been having colouring fun today.  One more saturated canary image - Christmas image this time.  I used spectrum hours for the shoes and dress I used dr1,2,3,4,5,6,7 hair was tn1,2,3,4,5 and skin was fs1,3,4 and pp1 for cheeks.

I made a double ended diamond card, die cut holly and snowflakes to decorate and a ribbon to finish off my creation.

Hope you enjoy it. Happy crafting.

Debs x


more stamping and new colours for Vampire Rose......

Hello again,

Have coloured vampire rose in sepia ish colours, I have used TN1-8 for everything except skin FS1,3,4 and PP1 and hair DR5, GB8,9,10.

Matt and layered pretty flower paper onto brown core-dination card stock and die cut a pretty ornate frame for the stamped image a bit of ribbon, paper flowers and some gems finish off the card.

I am having so much fun playing with different colour ways, its good practice for colouring in ;-)

Who would have thought when I grew up I would still be colouring in.... And absolutely thoroughly enjoying myself doing it!  There must be some kid in all of us ;-) well, that's a bit deep for a Saturday afternoon!

On that note, have a good weekend all.

Happy crafting.

TTFN. Debs x


Friday 30 August 2013

a bit more stamping and colouring in..... guess who - Vampire Rose!

Hi

I'm back again with Vampire Rose, again chose to colour in grey tones.  Skin is FS1, 2, 4 with PP1 for cheeks.  Hair and parts of dress and stockings are IG1, 2, 3, 4 and dark areas of dress and shoes are IG 6, 7, 8 9, lips are CR4.

A bit of background paper some paper flowers, die cut leaves and fancy shaped die to cut out Vampire Rose and inked with Tumbled Glass distress ink to soften the edges of the bright white neenah card I stamped on.

Same images as last few cards I have posted but a completed different looking card.

Am loving playing with colours......


Well, time for bed soon, so will have to play again tomorrow!

Happy crafting and goodnight everyone.

Debs

It's the weekend - why does a short week feel like a very long week - its now craft time!

Hello again

Well, for a short week (4 day working week due to the Bank Holiday) it feels like a very long week indeed.  Still, it's finally time for crafting now.

I am still on the Vampire Rose theme (Saturated Canary Little Darling Stamps), and have made a card out of one of the Vampire Rose images that I coloured in earlier this week.

This image was coloured in with my Spectrum Noir pens and I used grey shades again,this time I used BG1-BG10 and the blender pen for the dress and stockings and IG7, 8, 9 for her hair and IG1,3,5 for her shoes and over shoe socks.  Skin was FS1,2,4 with a hint of PP1 for cheeks and DR4 for red lips.

I decorated with some lovely die cuts of border and swirls and a quilled flower from Crafter's Companion Die-sire Small Rose dies and a leaf die.  All in black/grey and white.  I am getting into my monotone quite well now.

I am seeing how many different colour ways I can colour one stamp, watch this space for more Vampire Rose images to come - you never know, I may change images soon!


Well, time to play again.  See you soon.

Happy crafting. TTFN.

Debs x

Thursday 29 August 2013

Saturated Canary Stamp - Vampire Rose - made into a card....

Hello again,

Following on from yesterdays post regarding colouring in Vampire Rose in three different colour ways, attached below is a card made up from another colour variation of Vampire Rose - this time in bright colours.

I have coloured her mainly in reds, (Spectrum Noir pens) I stamped on neenah card stock with tuxedo black memento ink, I have used DR2, 4, 6 for the hair, and DR1, 2, 4, 5 for the dress and stockings and CR1, 3 for the underslip and stockings, FS1,2,4 and PP1 for the skin and IG1 for the shoe/socks and IG7, 8 for the shoes.

I did a little matting and layering using my Go Create scalloped oval and circle dies (making my own card blank for the XL scalloped circle dies) then added a bit of ribbon and some hand made flowers using a tonic flower punch and a Martha Stewart leaf punch.  I love this card.

Well, I had better go and get some sleep now so I can be fresh for crafting tomorrow.

Happy Crafting - TTFN,

Debs x

Wednesday 28 August 2013

A bit of colouring in..... Saturated Canary Stamp Vampire Rose.....

Hello all,

Did a bit of colouring in today - one stamp in three different colour ways. I picked Saturated Canary Vampire Rose stamp - well you can't beat a good vampire can you.

I coloured one in browns (sepia - ish but not quite) one in greys and one in a mixture of greys and limited colour.  I used Spectrum Noirs to colour in with and used all of the tan range, TN1 - TN9 in the first picture apart from the skin, where I used FS4,2,1 with a hint of PP1 for cheeks.

I used the same skin mix on all three stamps, but used BG1-BG10 for character 2 (again the whole range from hair to clothes). and finally on character 2, used IG7,8,9 for shoes, stocking and dress and hair and LG2,3,4 for the dress.

Don't you just love stamping and colouring in - makes you feel good.

Happy crafting

Debs x
Hello again,

Well, summer seems to have come back a bit so felt the need to craft - well, there is always a reason to craft!

I was asked to create a design stand for small bottles of perfume for a candy store in pinks and blues, and this was my design.  Not bad for a first attempt - even if I do say so myself.


I was also asked to design Chocolate pizza boxes - for chocolate pizza's of course again in sweetie designs with a heart shaped window (so you can see the chocolate pizza).  I was very happy with the end results.

I used 16x16" centura pearl card stock and cut to 12" square and scored at 2" on all 4 sides and created a box base, (using the Crafters Companion box maker board) I then repeated for the box lid and stuck the two end flaps together to create a joined/hinged box for pizza ;-).


It was a challenge, but good fun.

Happy crafting till we speak again.

Debs

Sunday 25 August 2013

elegant but simple card... using Creative Expression Stamps

Hello all

Been a little busy this morning using a Creative Expression stamp set, it is from the "Singles" range, Frames and Flourishes, Delicate Frame.  It is a beautiful frame stamps with an additional word stamp - warmest wishes.

I have used centura pearl to create a base card and gold miri board for matt and layering.  I have stamped onto neenah card stock with a clear ink pad and covered with enchanted gold embossing powder, then stamped warmest wishes into the centre of the frame and again embossed with enchanted gold embossing powder. I then cut this out and layered it on to gold miri and cut round this creating a matt and layer effect.

On another piece of neenah I inked half the stamp with clear ink and stamped on one side of the card and embossed with enchanted gold embossing powder, I repeated this for the other side of the card, then matted on to gold miri.  I then put this on the backing card, then put the smaller frame on top and decorated with a few gold gems.

This is the finished effect, simple but elegant and created with only with 1 stamp set a few gems, and some embossing powder.


 I am really pleased with the result of this card, inexpensive to make and can be used for multiple occasions.

Until the next post, happy crafting.

TTFN

Debs xx

Saturday 24 August 2013

crafting workshop..... 2 times per month, Quinton Birmingham (just off Hagley Road Birminhgam)

Crafting Workshops - £8 per person

All workshops are held at Lench's Trust, William Lench Court, 80 Ridgeacre Road, Quinton. B32 2AQ on Sundays from 10am - 12pm.
Free parking available on Quinborne Centre car park next door, or street parking outside venue.

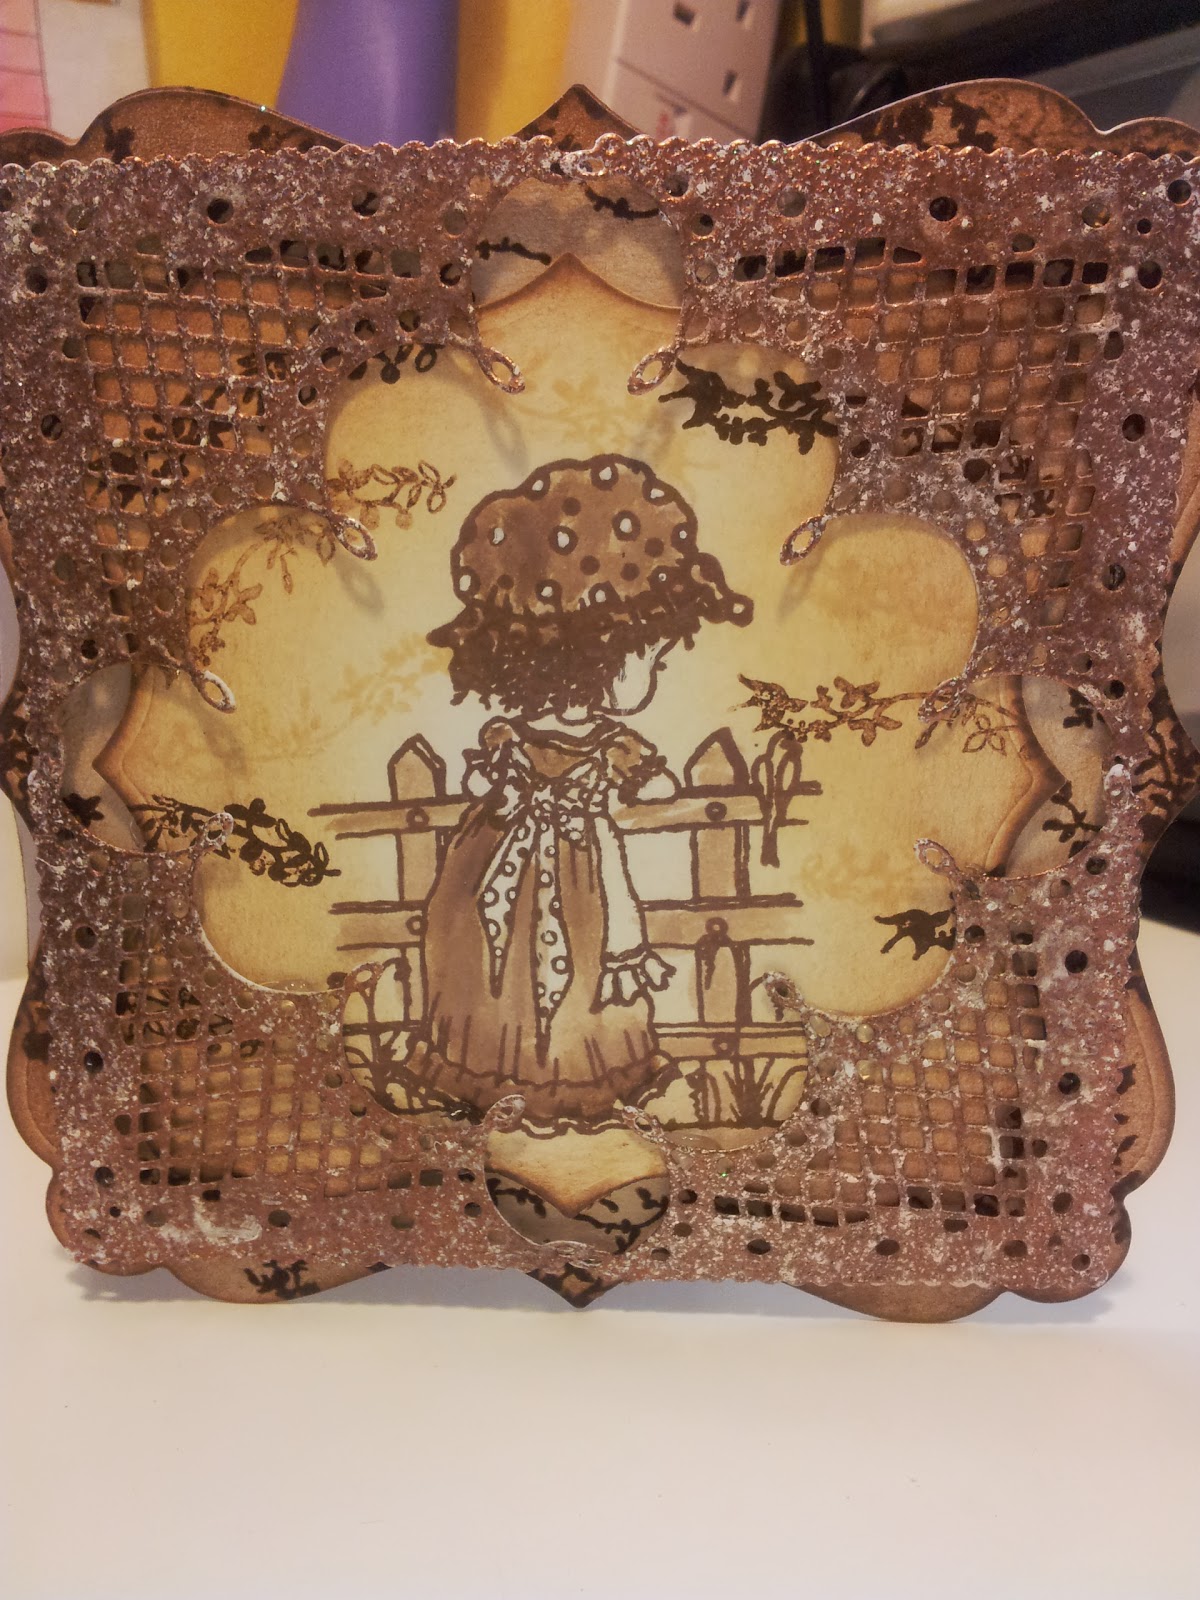
Do you want to learn new card folds and techniques, how about some different ideas, including gifts, such as hand decorated candles, note pad calendars, gift boxes and gift bags, quilling, how to make your own jewellery, and much more, such as; how to use embossing boards, punches, die cutting machines, distress inks, how to stamp and colour in, and a multitude of other crafting skills, then look no further.  

All levels of crafter's are welcome and will be catered for, from absolute beginner to advanced crafter, in a fun and friendly environment.

All crafting materials will be provided for each project, but please bring your own basic tool kit, e.g. trimmers, craft mats, score boards/tools, craft knives, quilling tools, ruler, scissors etc.

We will incorporate some  jewellery making during the workshops, such as shamballa bracelets, pandora style bracelets, ear rings, necklaces, floating necklaces, handbag charms, charm bracelets, watches, etc.  All jewellery  items will be provided for you along with all equipment needed for jewellery making.  I will put a note besides the date to show when we will be incorporating jewellery making into the workshop and will advise you via email (to be added to my workshop email mailing list please leave a comment here with your email address and I will contact you).

Sunday 15th September 2013

Sunday 29th September 2013

Sunday 20th October 2013

Sunday 10th November 2013

Sunday 24th November 2013


Sunday 8th December 2013

More dates to be added for 2014 shortly.  Watch this space.

Hope to see you soon.

TTFN

Debs x

Christmas has arrived...... well it has in the craft world!

Hello again,

I felt Christmassy today and have been inspired by the lovely Dinkie snowman stamp from Indigo Blu.

Using a 8x8 card blank, I stamped the Dinkie Snowman on the right side of the card about 2 inches up and about 3 inches in from the right hand side (but wherever you fancy is good).  Using a Inkadinkado sentiment stamp, I stamped Merry Christmas at the top in the middle of the card (about 1 inch down from the top). I then took a craft knife and cut around the snowman and to the edges of the card and up about 2 inches from the top then straight to the right hand edge, giving me a top and bottom flap.  Using Hunkydory snowflake acetate I put a piece behind the front of the card, making it into a solid front again.

I then liberally added glitter (it is Christmas after all).

For the inside of the card, I stamped a pretty Christmas tree (this is a Do-Crafts stamp) on the left hand side and punched out a one inch circle from sticky notes put it on the card above the tree to make a moon, using tumbled glass distress ink I inked around the edge of the "moon", then took the sticky note off leaving a silhouette moon, I then cut wavy lines in a piece of copier paper and randomly put hills around the tree in the same tumbled glass distress ink, then took a Santa in a sledge and reindeer's stamp (from Dimension Forth Ltd) and stamped this at the top of the card and again glittered (you can never have enough glitter and sparkle). And this is the finished result.

What do you think?


I am very happy with the finished result.  I think I have found my Christmas Cards for this year, one down ****** to go ;-)

TTFN

Debs x

Remember to check out my website for more ideas and workshop times and dates. www.thecarddemon.com

Tuesday 20 August 2013

a little bit of stamping and embossing fun.....

Hello again,

I have been a bit creative lately - and getting back to my stamping roots - as you will see from the photo's below.  I have used stamps from Ali'sinkyfingers and Clarity Stamps (flowers and florna).

On the first card below, I cut out a shaped card created two matt and layers and using a spectrum noir red pen (DR2) I coloured the edges (only the bits that you could see) and stamped on the smaller matt and layer with an ali'sinkyfingers stamp and water coloured with walnut stain distress ink.  I wanted to keep the card quite neutral with the colour coming from the matt and layer.  I then took a black fine liner pen and did dots and dashes around the edges of the card creating a patterened border.
The second card I did exactly the same but only used walnut stain distress inks to water colour the image and to shade round the image.  I then used a corner die to cut four corners and mixed a few embossing powders together that I found in my draw to give me a pinky/coppery effect with a hint of black and white glitter embossing powder thrown in for good measure.  I pressed the corners into a clear (wet) ink pad and poured on the newly created embossing powder then used my heat gun to set it.  Then simply matt and layered them to the card.  I am very happy with the results of my playing.
Well, off to do a bit more playing.  Happy crafting.  TTFN. Debs x