Sunday 5 November 2017

3 new project video's - card holder & list book & sticky post it notes holder

Hello,

I have done 3 more video tutorials for The Printable Craft Shop - Crafting4Good.

A card holder - card holder video tutorial

The next one is a List Book - List Book Tutorial

and the final one is sticky notes holder - sticky post it notes holder

The finished photos are below. If you would like to purcase any of the kits I have used to make these projects, please go to The Printable Craft Shop website to purchase.

They have loads of beautiful kits available in so many different designs and the choice is endless - be warned...... you will want everything you see :)


TTFN

Happy Crafting.

Debs xx

Monday 30 October 2017

The Pirintable Craft Shop from Crafting4Good tutotial on making the easel draw card

Hello again,

I have attached below the video tutorial on how to make the easel draw card from The Printable Craft Shop - they have some lovely designs on their website and are really cost effective - it is definitely worthwhile popping over to their website for a mooch.


You can make just the easel card and matching envelope or make the easel draw card with matching box.  I have made it with the draw and matching box - it is a lovely gift and you can add chocolate or pressies to the draw for a surprise.

Please follow the link below to see exactly how this is made, to make yours please go to the Printable Craft Shop's website to purchase the kit for this.

Easel Card Video Tutorial

TTFN

Debs x

The Printable Craft Shop from Crafting4Good Planner & video tutorial

Hello again,

It has been a while since I last blogged - I have had a lot going on in the last year - but onwards and upwards from now on. :)

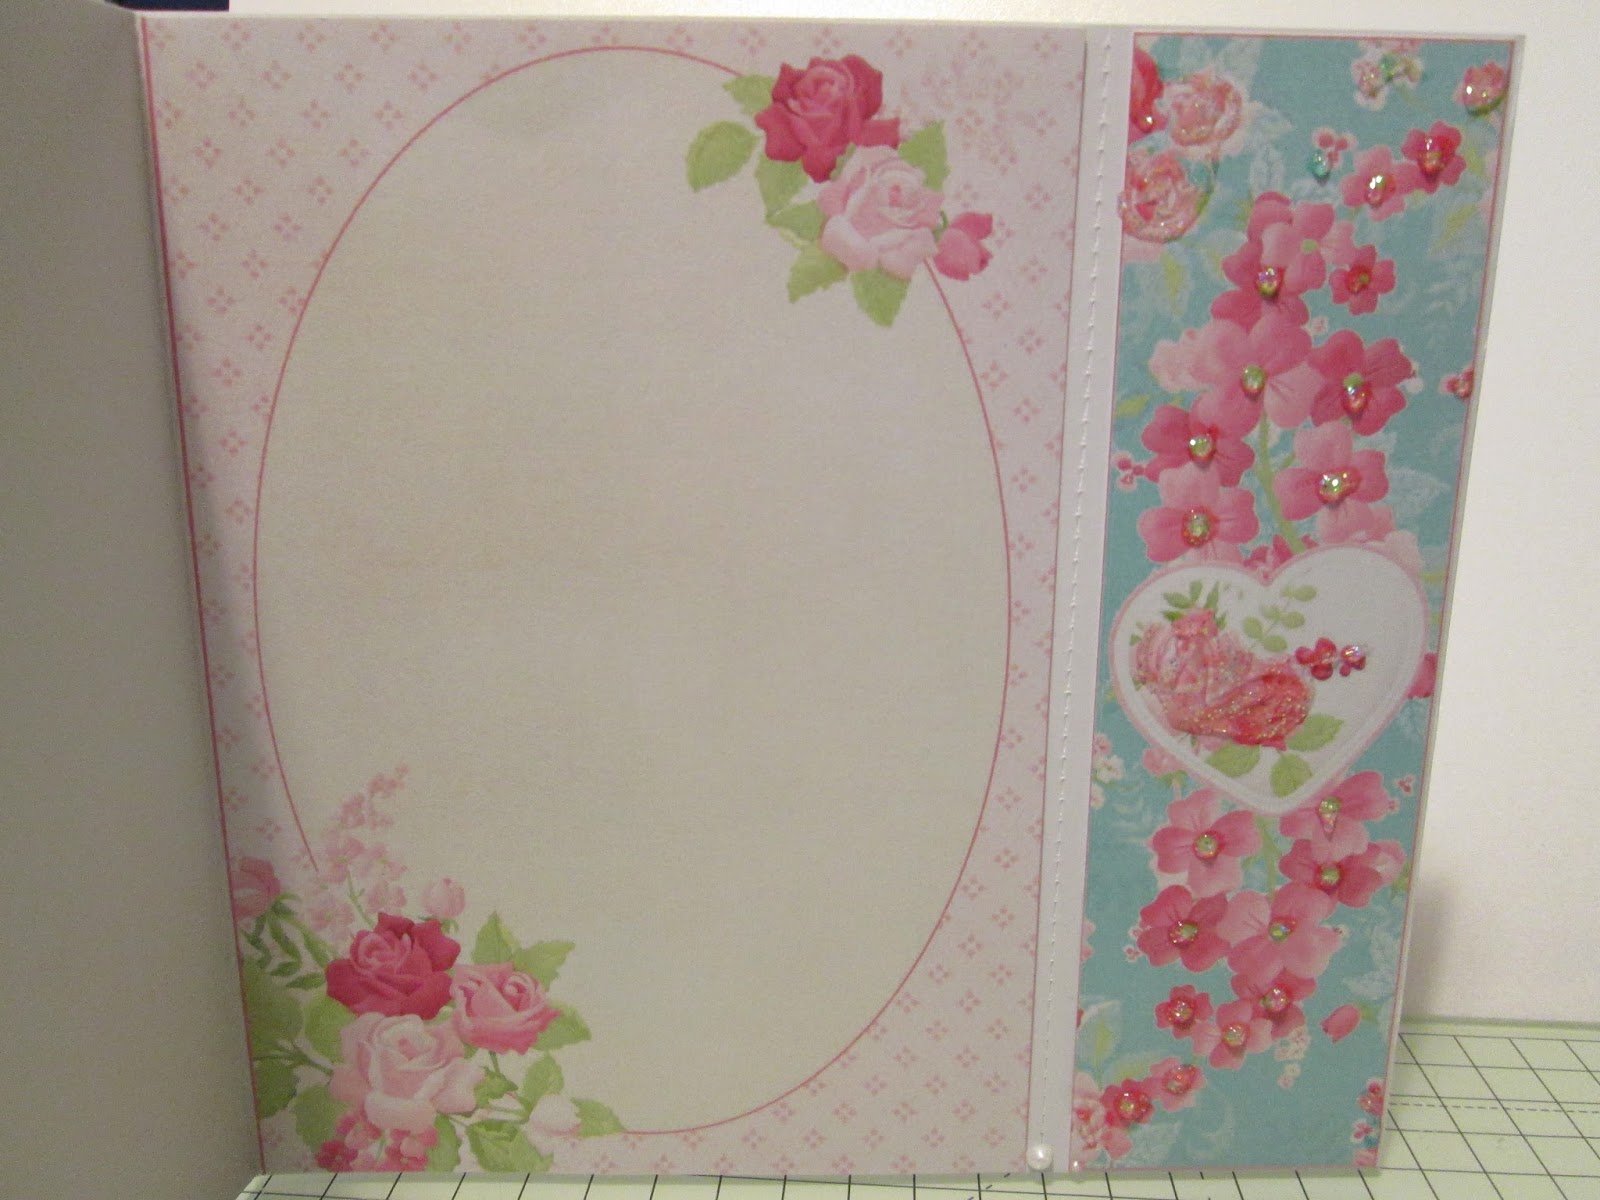
I recently brought a planner collection from The Printable Craft shop, covering Christmas and the rest of the year and thought I would share it with you.

If you would like to make one too, simply go to The Printable Craft Shop website and purchase what you like - they have a lot of choices.

www.printable-craftshop.com 

The Video Tutorial on You Tube is below, and is in 2 parts, click on each part to watch them :

part 1

Part 2 - https://youtu.be/y1Dhu8-uOighttps://youtu.be/y1Dhu8-uOig


Written instructions and video tutorial are attached on how to make this beautiful project.

THE PRINTABLE CRAFT SHOP FROM CRAFTING 4 GOOD
“FOLLOW YOUR DREAMS” PLANNER PROJECT


PRINTED ITEMS NEEDED
·         Backing paper (printed on reverse of side panel 1 and back panel).
·         Side panel 1 *
·         Side panel 2 *
·         Back panel *
·         Notes pages (25) +
·         Weekly planner (25) +
·         To do list (25) +
·         Notes holders *


EXTRA ITEMS REQUIRED

Glue/tape/foam pads for sticking
Score board/ruler/pencil
Scissors/trimmer/craft knife & cutting mat
Score board perforator or needle and mat
Brads for notes holders (9)

* I printed on 300 gsm centura pearl accents for the side panels 1 & 2, notes holders and back panel.

+ I printed on 80 gsm copier paper for all notes pages.


TIME TO MAKE (after printing sheets needed) - Average 45 - 60 minutes


WHERE TO PURCHASE DOWNLOADABLE ITEMS FROM - www.printable-craftshop.com


INSTRUCTIONS

Print out all sheets listed above after purchasing from The Printable Craft Shop from Crafting 4 Good.  On the reverse of the back panel and side panel 1 print the backing paper on the reverse.  You get a choice of what pages you would like in your planner, so print out the sheets you would like, I printed 25 of each to give a substantial notes pad.
Then cut them all out and score on the panels where marked (back page and notes holders).  On the notes holders and all notes pages you need to punch out the holes – which are marked but a white circle.  You also need to perforate the notes pages, you can do this using a paper trimmer with a perforator built in or with a needle and mat and poke the needed through every 2mm.
Make up the holds holder by scoring down the score lines and cutting down the white sections at each end and fold and glue (as you would a box).  Once dry, you simply place your notes pages into the holder lining up the punches hold and secure with a brad.
Take your back page which you have scored and fold the two scored ends inwards. You will glue/tape side panel 1 to the right side and side panel 2 to the left side (with the planner open towards you).  On the reverse of these you will stick the back sides of side panel 1 & 2 to give a clear pretty finish.
Once you have stuck the front and backs of both side panels on you will end up with what looks like a gate fold card.
Using the notes you have made up, stick the large weekly planner to the centre back page, and the to do list / blank notes pages to the left side (facing you) but turn side-ways and stick this down also.  Finally on the right side panel stick the long notes pages.
When sticking these down, please ensure they do not over laps each other (the notes holder sections, otherwise it will not close properly and will not sit flush- stagger them slightly.  I found it was easier to do the centre one first then the two end ones.
Although this project takes a while to print and put together, it is such a beautiful project when finishes and makes a stunning gift, it is well worth the time it takes to make it.
There are also Christmas planners available with lovely variety of notes pages, such as recipes, gifts, weekly planners etc., and all the reminders pages you need to organise and plan your Christmas.
All can be purchased for a very good price from www.printable-craftshop.com from Crafting4good.


Thank you for taking the time to read the instructions and I hope you are as happy with your finished project as I am with mine.

It will make lovely gifts.

TTFN,

Debs x

Monday 3 October 2016

The Printable Craft Shop Halloween Card - 2 versions

Hello all,

Well I am back from my holiday in Florida all ready for Halloween - its my favourite season, I love horror films and halloween and any thing scare, so I loved this project.

I used all items from The Printable Craft Shop, and used the witches shoes as my project.  There are loads of fabulous options on there for card making, pop along and have a browse, you wont be disappointed.

www.printable-craftshop.com.

https://www.facebook.com/groups/MyCraftsCommunity/

I printed off the base card and the topper sheet twice (for two projects), I made the first project as it was meant to be made.

I printed out and cut out all elements and scored down the centre of the shoe which is my base card.


I layered up the shoe topper and the buckle belt on the front of the card.


I layered up the two green shoes and the sock toppers on the inside of the card.


For my alternative card, again I printed and cut out all elements.  But this time I cut the shoe in half as I only need the front of the shoe.  I added a piece of A4 black card and A5 orange card, and matt and layered these together.


I added the shoe to the front of the card with foam pads to raise it.


I added the shoe topper and buckle to the shoe, again with foam pads to raise it up.


I finished the card with some black ribbon.


 TTFN, Happy Crafting

Debs x

Monday 22 August 2016

Pop Up Box Car - Alternative - The Printable Craft Shop

Hello all,

Today I worked on my alternative card from The Printable Craft Shop, I used the following card kits.

Hello Sunshine Shadow Box Card
Purple and White Flower Topper Sheet
Butterfly Slider Card

You can purchase and down load these kits from The Printable Craft Shop - link below.

.www.printable-craftshop.com.

I started with the backing paper for Hello Sunshine (which you can print double sided or you can print two sheets and matt and layer - I recommend  at least 250 gsm card stock for this) and scored this at 7 cm, 14 cm, 21 cm, 28 cm and turned and scored at 12 cm.


 Using a 2nd sheet I created layers for the inside of the card which you would see folded over, for each small panel they are 7 x 12 cm and for long panel 7 x 21.5 cm and who thin strips (for the central panels inside the box card to hold your flowers) 10.5 x 2 cm.
 On your A4 scored sheet, cut down the top score lines to the 12 cm score line, the small panel which is left, again cut down to the 12 cm score line then cut this off.  I generally cut the corner at an angle so when you stick together you get a clean finish.

To make up the box, taken the small tab on the left side and stick to the inside of the right side, forming a box.


score the two thin panels at 1.5 cm from each end and stick inside the top of the box.


I printed out the topper sheets for Hello Sunshine and Purple and White Flower topper sheet and Butterfly slider card and cut into them and cut out all the flowers, the butterfly and the tags an oval topper.  I used these to decorate my pop up box by sticking the flowers to the two central panels we added earlier.


I stick these to the inside panels, sides and back of the pop up box card.  Giving you the finished card below.


Beautiful for any occasion.

Please join me for my next project - coming soon.

TTFN, Happy Crafting.

Debs

Friday 19 August 2016

Perfect Roses Asymmetrical Card - Alternative Version - The Printable Craft Shop

Hello again,

I have been playing with the card base, topper and insert sheet from this card kit from The Printable Craft Shop,

www.printable-craftshop.com.

I love this design and pattern, the colours are vibrant and so pretty.

I have used the card base, topper sheet and the insert sheet and have made a detachable bookmark card - with a perforated section so you can tear off the book mark and keep it and use it.

I started by printing off the sheets I wanted to use on 200 gsm card stock and used a piece of white card stock 300 gsm as a base.  I cut this down to 16 3/4 cm high and scored the width so I had a 17 12 cm back panel and shorted front panel so you can see the book mark element of the card.

I cut out all elements from the insert sheet and cut off the blue panel on the right hand side to use on the reverse of the card, the middle panel I used as an insert for the inside of the card, and the panel on the left to put on the reverse of the front panel so it was decorated also.
 I cut out all elements from the topper sheet, the decoupage for the front of the card the blue border strip for the inside book mark.
 I cut off the flower panel section and put the rest aside to use on a future project.
This is the front of the card showing the flower panel with decoupaged elements and the book mark on the right side.
 I have added glitter and liquid pears to show butterfly trails down the card.

 The inside of the card has a lovely oval panel so you can write your sentiments and the tear off book mark is on the right.
 The book mark section is perforated for easy removal.
 The back of the card is decorated so the book mark is double sided and the patterned panel is used for decorating the rest of the back panel.

Once the book mark is removed the card still remains a full card as the front and back will line up perfectly so can still be displayed as a card whilst you are using your book mark separately.

I love this card and it is so easy to make and looks stunning.

TTFN, happy crafting.

Debs x

Butterfly Side Slider Fold Card - The Printable Craft Shop

Hello again,

It's my third project of the day for The Printable Craft Shop, this time I am using the Butterfly Side Slider Fold Card kit which you can purchase and down load from The Printable Craft Shop.

www.printable-craftshop.com.

It is such a summery card, so cheerful.

I started by printing out all elements on to good quality 250 gsm card stock to give it a sturdy base.

This is the topper sheet.

 This is the base card and slider element.

I ct out all elements and cut out the tabs where indicated on the card and toppers.
 I then started to layer up all elements onto the card, the large topper on to the inside of the card, the front of the card is folded back and I have stuck the two pieces of the slider tabs together to form a double sided slider and stuck this behind the front fold back of the card an through the cut out tab on the front of the card through to the inside of the car and layered a butterfly on this so it is raised off the card and appears to be flying.

I stuck the oval topper on to the front of the card and finished with the two tags in the top left corner and added glitter and pearl drops in the corners.


I hope you like this.  All items can be purchased from The Printable Craft Shop.

The next project will be combining this kit, along with Hello Sunshine kit and the Perfect Roses Asymmetrical kit and finally the purple and white flower toppers - I will be making a stunning card using elements of all 4 of these kits.

TTFN, Happy Crafting.

Debs x