Thursday, 19 May 2016

The Printable Craft Shop - Men's Cards - Never Ending card turned into a Man's overall card with tools - video tutorial.... my first one.

Hello,

I blogged how to make this card yesterday so please visit my previous blog on how to make the original never ending card - as it is designed, and also how I made this alternative card - the man's overall card.

I have decided to take it a step further and video how I have made this, so you can see it in real time and exactly how I measure (or not measure as the case is for me!) and how I make each stage of the card.

Everything is available from The Printable Craft Store and if you want to make either the traditional never end card or the man's overall card, you would need to purchase the never ending card kit to make this.

Their website is: www.printable-craftshop.com. 

You will need to print out the the following:

1 x backing paper
1 x topper sheet

You will need:
1 x A4 white card
1 x A5 black card
small piece silver card (and buckle die or punch)
Foam pads
Tape/glue

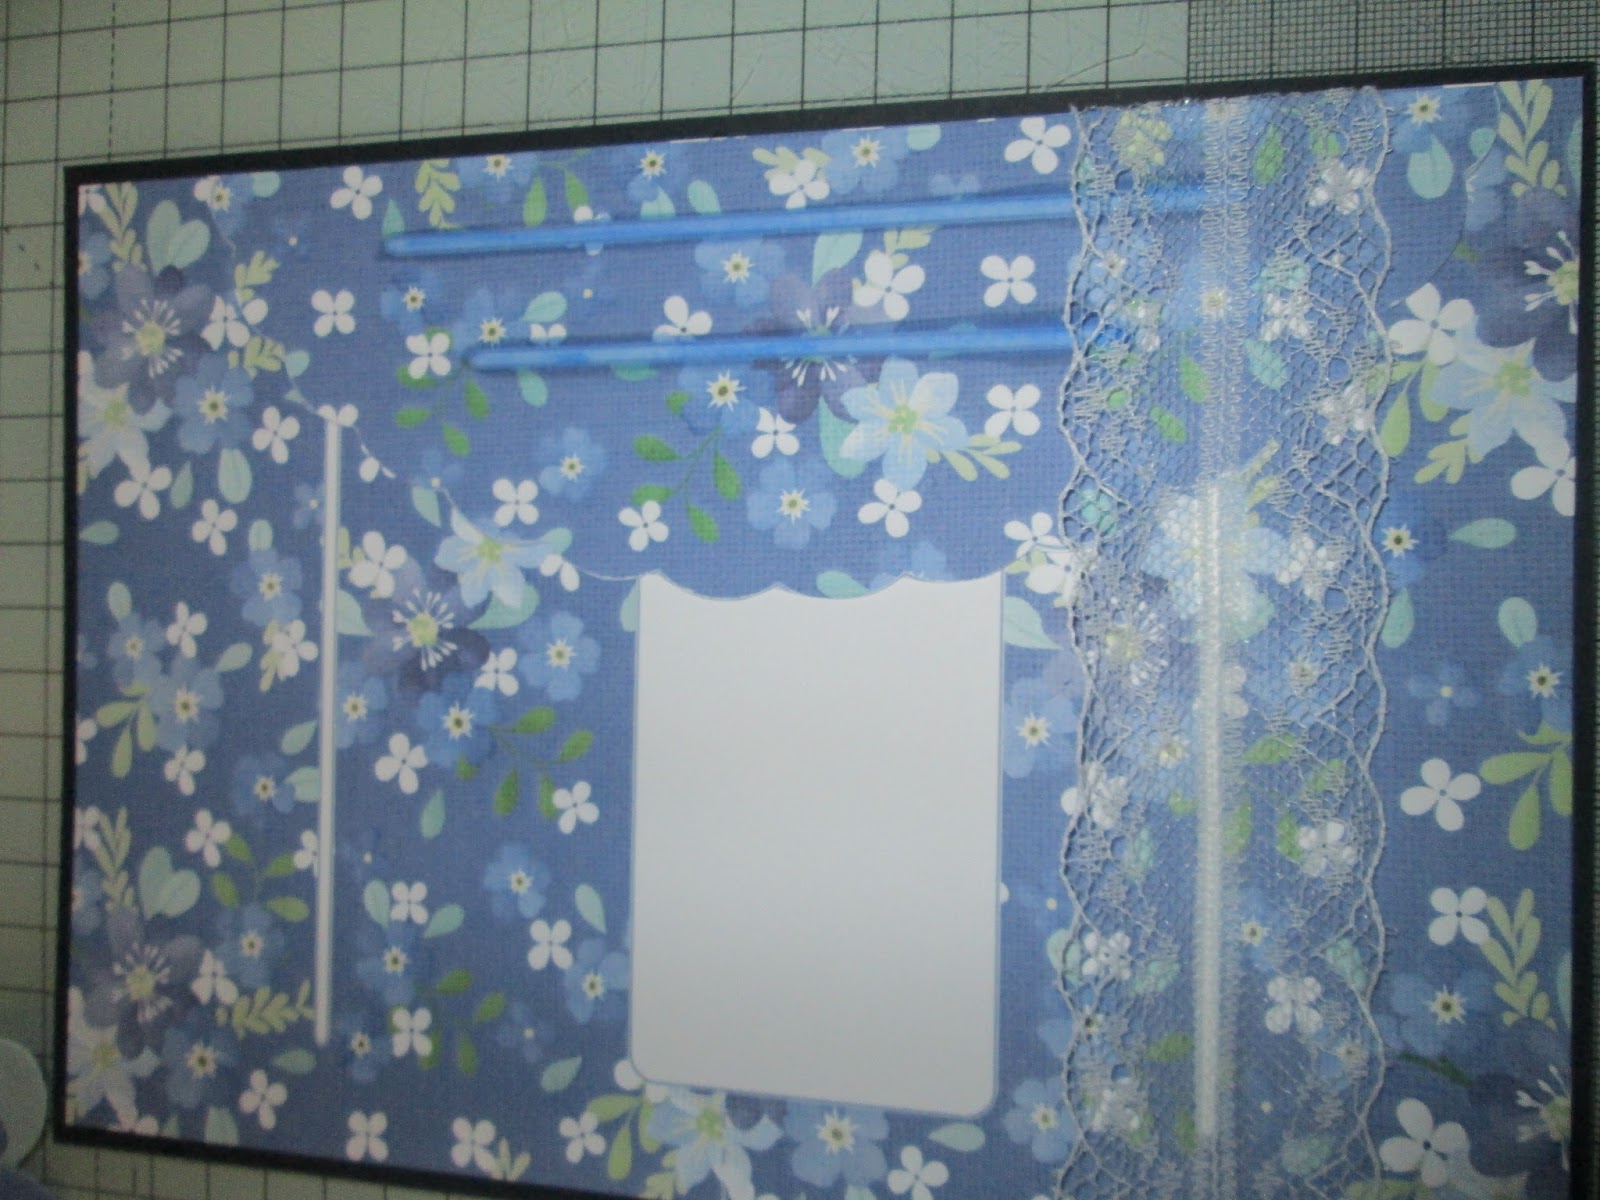
This is what you will be making:


Below, I will be attaching a video of exactly how I have made this step by step, you can see this being made in real time and you can pause me - definitely a benefit :-)  I have pre cut out the tools to save you watching me cut out 6 tools.

This is my very first video project (and no pre-runs or practices before hand) so hopefully it is clear and concise and you will find it useful - any mistakes are all my own :-)

I will be doing more of this as it was fun to do and hopefully very helpful if you want to copy this project.

Video - the video is too big to attach to this blog so I have attached to You Tube and attached the link below for you to view.  Simply click on the link below to view the video.

https://youtu.be/QR02XfVN9Xg

As you can see from the video's I am a bit of a tidy/neat freak and do tend to clean up as I go along :-)

I will be posting more card making video's going forwards so please keep an eye out.

Until next time, happy crafting.  TTFN.

Debs x


Wednesday, 18 May 2016

men's card... the printable craft shop

Hello all,

Well, I have done another card for the design team for The Printable Craft Shop - well two cards actually, 1 traditional design and 1 using the exact same papers but made into a completely different card.  www.printable-craftshop.com.

traditional card


alternative card


Below I will go through how I made each card.

Traditional card.

The card I used was a magic card, where you can open the card by folding back the side panels and fold back again and get a different view.

Using all products from The Printable Craft Shop which I printed out on 250 gsm card stock. I printed out the following items.

Two topper sheets
2 base card sheets (with backing paper printed on reverse)
2 part envelope

I cut all parts out and scored where indicated.


using the two card panels, I glued each top corner and stuck the top panel vertical across the bottom horizontal piece and did the same with the bottom two pieces.


then simply decorate the card and it is finished. :-) 


Alternative card.


I used the following

backing paper
topper sheet
1 A4 white card (made into A5 card blank
1 A5 piece black card
2 silver buckles - (from a punch)

I started by folding the white card to make a A5 card blank and across the top of the black card, I measured across and found the centre and made a slit down the centre 1 1/2 inches and folded it back to look like a collar.  I stuck the black card on to the card blank leaving the collar open.


I took the backing paper and trimmed to fit the front of the card but on the reverse side drew the shape of an apron.


I then cut this own and punched out two buckles from some scrap silver card stock and threaded them on to the straps of the overalls/apron, then stuck this on to the front of the card.  I made a pocket from the scrap backing paper and stuck to the front of the card.

Using the topper sheet, I cut out the tools, saw, paint brush, etc and tucked them inside the pocket.  I finished the card with a sentiment.


This is the finished alternative card, perfect for a man's card.

Happy crafting, TTFN

Debs x

Monday, 9 May 2016

Crafter's Companion Quilling Flower Dies - new creation

Hello all,

I knew once I had gotten the quilling dies out I wouldn't be able to stop playing with them.

I had a little undecorated trinket box that I though looked a little plain...... it doesn't now :-)

I decided I wanted different colour flowers, so I used Crafter's Companion quilling dies to make three different flowers, and used spectrum noir pens to colour them, I used HB1, PP4 and LY3 for the three colours.  Once I had coloured them, I rolled them up into the flowers and sprayed them with Crafter's Companion spray adhesive and dipped them into glitter.

I stuck these to the top of the box and added different leaves, butterflies and dragonflies and using a small flower punch, I made some small roses and inked the edges.

Its a bit random but loved making it and it is definitely not plain now.


Happy Crafting, TTFN.

Debs x

Crafter's Companion create card die and quilling dies

Hello all,

I am using two of my favourite dies from Crafter's Companion, a 6x6 create a card die and various quilling dies, I have also used Centura Pearl snow white card stock.

I stated with an 8x8 card base and matted silver miri card to it, I then trimmed down a piece of centura pearl snow white card stock to 7 1/2cm and cut a create a card die in the centre, then layered this to the base card.

Using the quilling dies, I create 3 flowers in cream, pink and lilac and sprayed them with Crafter's Companion spray adhesive and dipped in glitter and using collall glue gel, I stuck these to the centre of the card.  I punched various leaves and fauna and stuck these around the flowers and finished with a couple of die cut swirls.

I have made quite a few of these cards now and they are my favourite so far and look wonderful


Happy crafting, TTFN.

Debs x

Saturday, 7 May 2016

expandable accordion card - crafters companion

Hello all,

I love this card, it is an expandable accordion card from Crafter's Companion,  I have used ivory centura pearl and brown as my base cards and have cut 4 in ivory centura pearl card and stuck together, I have used on the edge dies in gold around the brown card, I have used the holly overlay die and cut in gold miri card edged the 3 brown panels with this.

I mat and layered the centre panels with alternating ivory and brown (3 layers) and used tattered lace climbing rose dies on the corners on the ivory panels and used pansy die for the flowers in the centres of the ivory card and blossom fairy die cuts for the centre of the brown panels.

I love this card, you can make it as long as you like, you just add more accordion panels.


Please visit Crafter's Companion for the accordion card base and overlays (any much more), I have added the link to their website below.

http://www.crafterscompanion.co.uk/papercraft-c2141/die-cutting-c349/diesire-c1994/diesire-create-a-card-accordion-dies-c7334/create-a-card-accordion-overlay-dies-c7336

I have also used this card (accordion card) for stamping and have created fairy scenes using distress inks and fauna and fairy stamps.

I decorated both sides of the card so regardless of how it is stood, it is all decorated and stamped.  I used a variety of bases for the colours, on one I used distress inks, on the second I used pan pastels and on the third I used cosmic shimmer colour cloud blending inks then used fauna stamps around the top bottom and sides, and fairy and verse stamps in the centre panels.

I kept these as a standard 1 fold card, but again they can be as long as you like - it is your creation and imagination.


Happy crafting, TTFN.

Debs x

Tuesday, 19 April 2016

The Printable Craft Shop - Shelf Card - not a shelf card..... with Sympathy

Hello all,

I have been using The Printable Craft Shops shelf cards, to make a standard card - when is a shelf card not a shelf card - when it is a made into something else ;-)

I have taken all the elements from The Printable Craft Shop Shelf Cards, and have chosen the "with sympathy" card, which is absolutely beautiful.  The link for the Printable Craft Shop is below, they have some wonderful items on their site, have a browse whilst you are there.  www.printable-craftshop.com
The link for the shelf cards is:

https://the-printable-craft-shop-2.myshopify.com/collections/featured-special-offers/products/all-about-shelf-cards-mega-bundle?variant=19059178054
Start by printing out all 4 pages of the shelf card.


 Cut out all elements from the pages.

Take a piece of card and make an A5 card, I have used black card for my base card.

Using the main card image, I have cut this down to matt on to my base card.  Do not worry about the white sections, they will be covered up.

I have cut into the shelf elements and cut out the sections I want to use, e.g. the heart,

 The bow,
 The scalloped semi-circle,
 I have coloured the white sections on the semi circle with Spectrum Noir pens, TB2 and TB3, you may not have to do this as you may not see the white bits when you have layered up all elements.
 The flowers,
 I have added a piece of lace around the bottom section of the card, covering the bottom white section.
 I have them stuck the scalloped semi-circle to the right side of the card down the length and tucked the end under the lace.
 Using the heart elements, I have added one to the top left of the card and one to the right top of the card.
 Using the full flowers, I have layered this up over the centre of the card.
 Then cut in to the next layer to form a decoupage topper.
The finally placed the single flower on top but have twisted this slightly so it is not exactly over the petals below.


Finally I have added the sentiment over the last border.   Then I have added glitter to the card, flowers

This makes a beautiful 3D card, and so pretty.

When you purchase the shelf card, you also get a box envelope for this, simply cut out each image, and score on the blue lines, and fold.  Stick the back to the front and slide your card inside your matching envelope.  Please see previous blog post for pictures on how to put the envelope together if you need instructions.

Happy Crafting, TTFN.

Debs x