Tuesday 19 April 2016

The Printable Craft Shop - Shelf Card - not a shelf card..... with Sympathy

Hello all,

I have been using The Printable Craft Shops shelf cards, to make a standard card - when is a shelf card not a shelf card - when it is a made into something else ;-)

I have taken all the elements from The Printable Craft Shop Shelf Cards, and have chosen the "with sympathy" card, which is absolutely beautiful.  The link for the Printable Craft Shop is below, they have some wonderful items on their site, have a browse whilst you are there.  www.printable-craftshop.com
The link for the shelf cards is:

https://the-printable-craft-shop-2.myshopify.com/collections/featured-special-offers/products/all-about-shelf-cards-mega-bundle?variant=19059178054
Start by printing out all 4 pages of the shelf card.


 Cut out all elements from the pages.

Take a piece of card and make an A5 card, I have used black card for my base card.

Using the main card image, I have cut this down to matt on to my base card.  Do not worry about the white sections, they will be covered up.

I have cut into the shelf elements and cut out the sections I want to use, e.g. the heart,

 The bow,
 The scalloped semi-circle,
 I have coloured the white sections on the semi circle with Spectrum Noir pens, TB2 and TB3, you may not have to do this as you may not see the white bits when you have layered up all elements.
 The flowers,
 I have added a piece of lace around the bottom section of the card, covering the bottom white section.
 I have them stuck the scalloped semi-circle to the right side of the card down the length and tucked the end under the lace.
 Using the heart elements, I have added one to the top left of the card and one to the right top of the card.
 Using the full flowers, I have layered this up over the centre of the card.
 Then cut in to the next layer to form a decoupage topper.
The finally placed the single flower on top but have twisted this slightly so it is not exactly over the petals below.


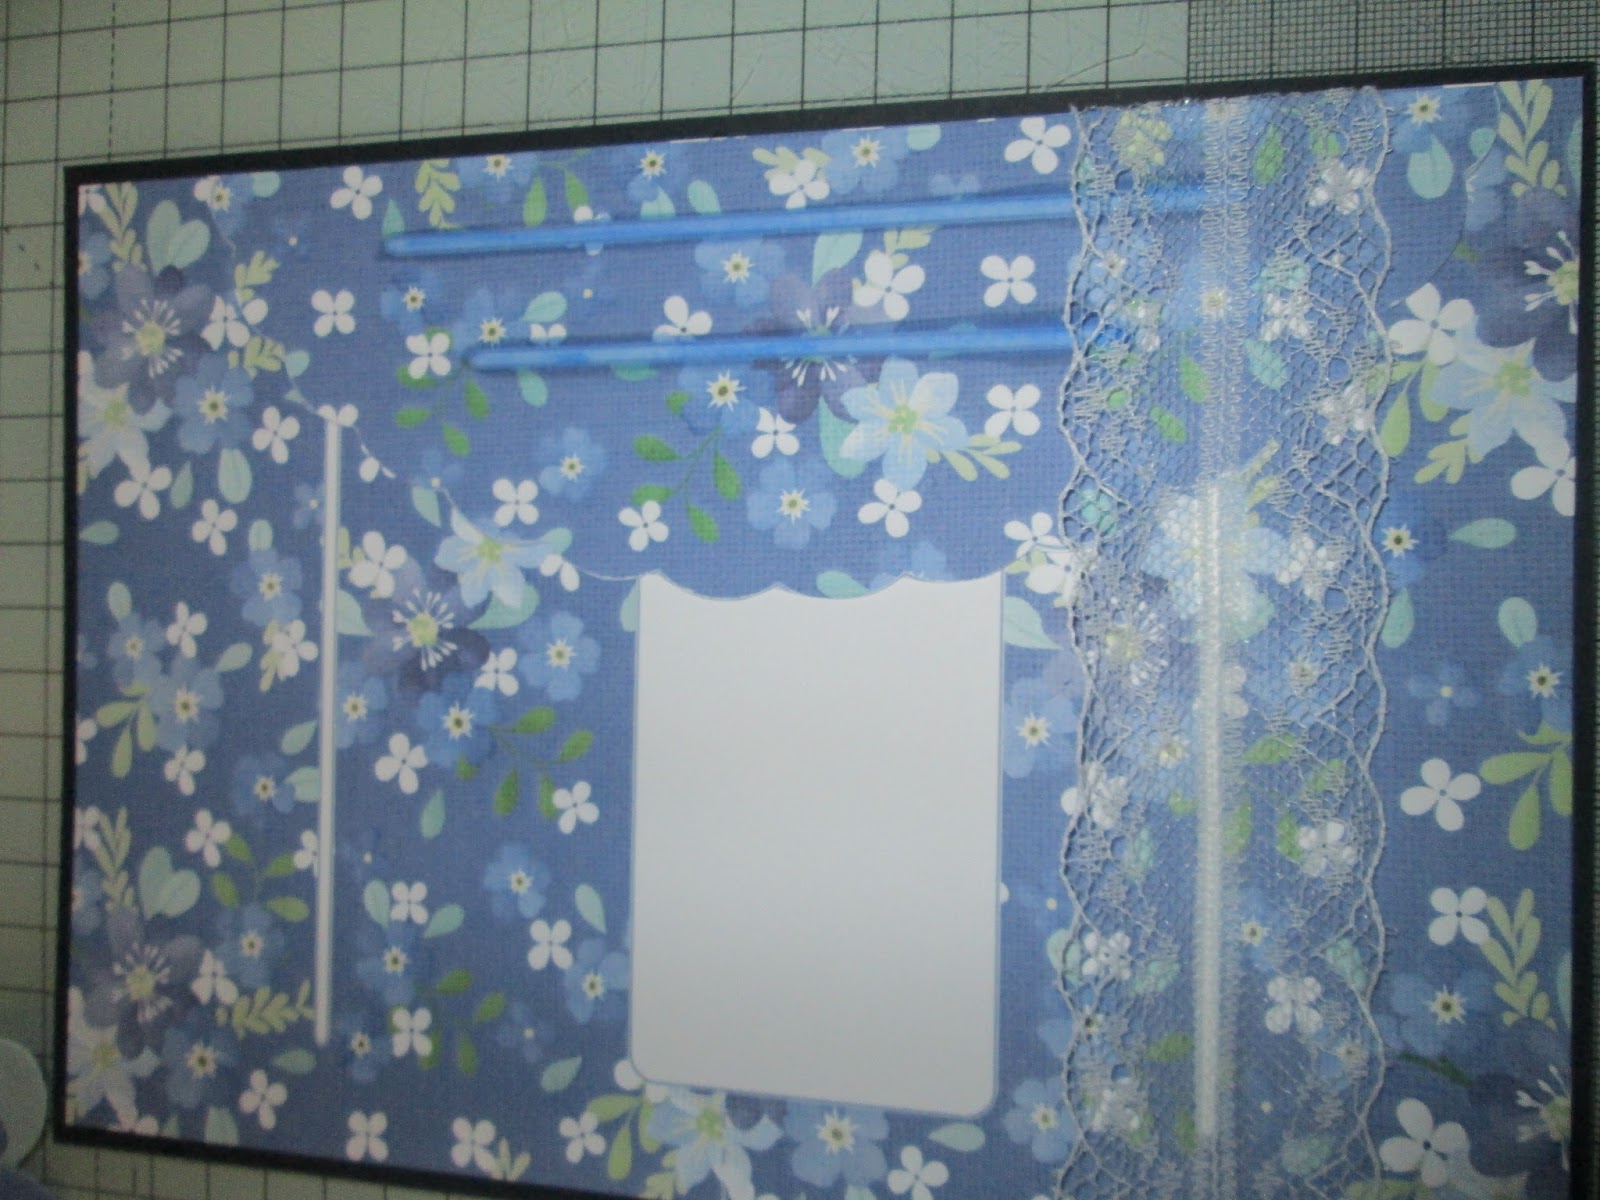
Finally I have added the sentiment over the last border.   Then I have added glitter to the card, flowers

This makes a beautiful 3D card, and so pretty.

When you purchase the shelf card, you also get a box envelope for this, simply cut out each image, and score on the blue lines, and fold.  Stick the back to the front and slide your card inside your matching envelope.  Please see previous blog post for pictures on how to put the envelope together if you need instructions.

Happy Crafting, TTFN.

Debs x

No comments:

Post a Comment