Hello all,
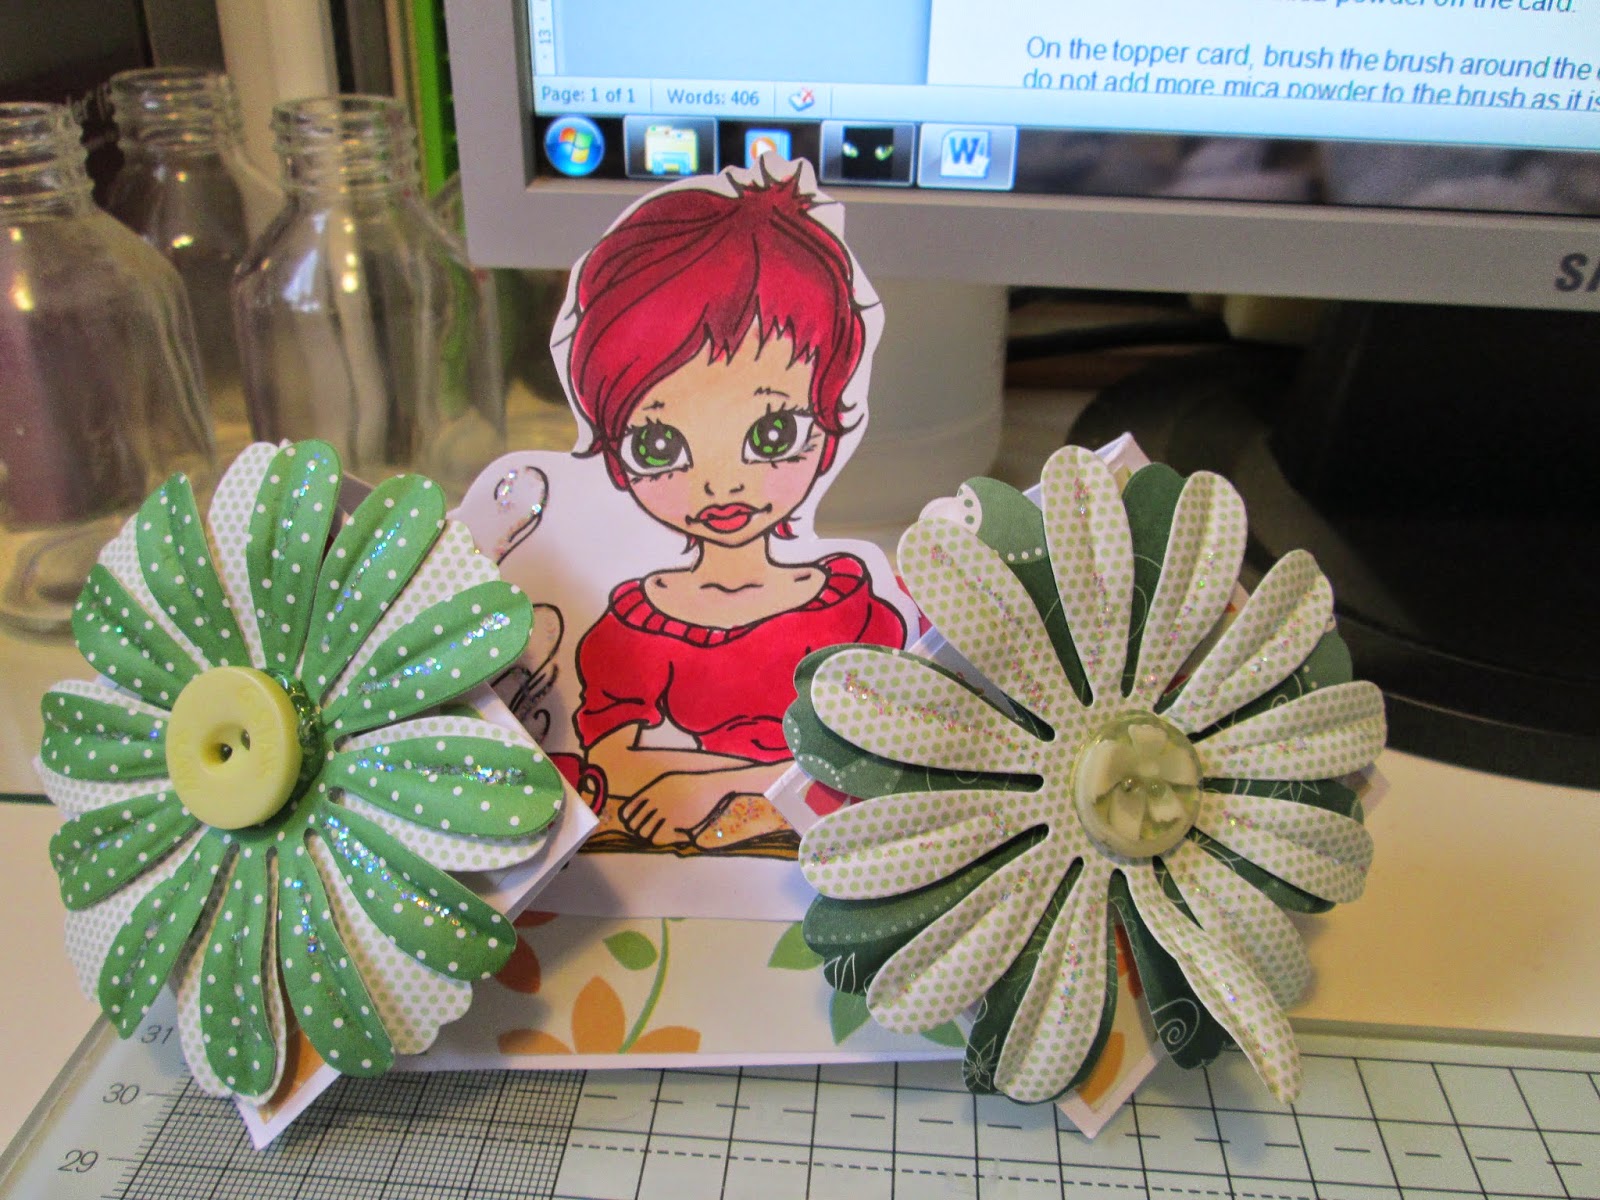
I though I would share some of my recently made cards with you, Most are made using stamps from various designers and all coloured in by me and all flowers are hand made by me. Please feel free to use them for idea's for your cards. If you need any info please message me and I will tell you how I made them and what projects I used.
Happy Crafting, TTFN
Debs x
I am an independent craft demonstrator and have been crafting for over 12 years (card making, jewellery making, candle decorating), and have regularly demoed card making at various craft stores for many years. Crafting is my passion, not just a hobby. I make and sell hand made cards, jewellery, wedding / party invites etc, please contact me if you are interested.
Saturday, 14 March 2015
Every girl needs a princess....
Hello all,
I was asked to make a door plaque for a special little princess called Hana who had been ill and needed a cheering up.
I started by using the go kreate large scalloped circle die (approx 8x8 inches) and cut 350 gsm card. I then created a princess castle back ground with Princess Hana's Room text on it, from my craft studio "fairytale" CD printed out embellishments from the same disk - a princess, a glass slipper and a princess carriage.
I used an 7 1/2 x 7 1/2 circle die (go kreate) and cut red glitter card then used the 7 1/2
by 7 1/2 scalloped die to cut the background paper.
I took a piece of bright pink ribbon about 1 inch wide and stuck this to the back layer of my plaque I then stuck the glitter card to this, ensuring the ribbon was firmly attached between the card base and the glitter card, and finally stuck the back ground image on top of the glitter card.
I then cut out the princess, carriage and slipper images and stuck this to the plaque.
I further embellished with butterflies, liquid pearls and gems.
And this is the finished result.
TTFN
Happy Crafting
Debs x
I was asked to make a door plaque for a special little princess called Hana who had been ill and needed a cheering up.
I started by using the go kreate large scalloped circle die (approx 8x8 inches) and cut 350 gsm card. I then created a princess castle back ground with Princess Hana's Room text on it, from my craft studio "fairytale" CD printed out embellishments from the same disk - a princess, a glass slipper and a princess carriage.
I used an 7 1/2 x 7 1/2 circle die (go kreate) and cut red glitter card then used the 7 1/2
by 7 1/2 scalloped die to cut the background paper.
I took a piece of bright pink ribbon about 1 inch wide and stuck this to the back layer of my plaque I then stuck the glitter card to this, ensuring the ribbon was firmly attached between the card base and the glitter card, and finally stuck the back ground image on top of the glitter card.
I then cut out the princess, carriage and slipper images and stuck this to the plaque.
I further embellished with butterflies, liquid pearls and gems.
And this is the finished result.
TTFN
Happy Crafting
Debs x
Tuesday, 24 February 2015
Pandora Style BANGLES - NEW
hello all,
Well, I have been making Pandora style watches and bracelets for quite a while now, so thought I would have a look at what else in this style I can make and have found some bangle style pandora bracelets.
Please contact me if you are interested in purchasing.
Thanks for looking.
TTFN
Debs
Well, I have been making Pandora style watches and bracelets for quite a while now, so thought I would have a look at what else in this style I can make and have found some bangle style pandora bracelets.
Please contact me if you are interested in purchasing.
Thanks for looking.
TTFN
Debs
MORE Granny's Bragging Books.....
Hello,
Yes, OK, well I got a bit carried away with creating these books..... the amount of idea's I have had regarding what others I can do bragging books for - weddings, christenings, new babies, boys and girls (and twins if needed, triplets.....) and on and on and on, the list endless.
I have created these books based on 14 1/2cm square, which is a lovely size for them. And they are about 3 1/2 cm deep and I make a matching box for them to sit in (in tissue paper). To make the cover and spine of the books, I used a piece of A3 centura pearl card stock and cut to 14 1/2cm wide and left as full length, for the spine I measures in 14 1/2 cm then scored at every 1/2 cm to create a mountain and valley fold and a spare then repeated (the spare is so you have a gap between the pagers) carry on doing this for the amount of pages you want), after the last score line, measure 14 1/2cm then cut off at this point. Fold and stick every 2nd and 3rd score line so it creates a sticky out bit to stick your pages to (sorry - sticky out bit is not a technical term) ;-) and repeat for the number of pages you want. It should look like the image below.
-----------^-^-^-^-^-^------------
Stick your pages on to each sticky out bit (1 page is 14 1/2cm square) and stick one on each side of the sticky out bit to ensure solid. Finally taking the 2nd A3 piece of card you cut down to 14 1/2cm wide stick this to the first end (14 1/2cm of the spine), then stick the spine done, then finally the other end of the card (14 1/2cm) and trim to match.
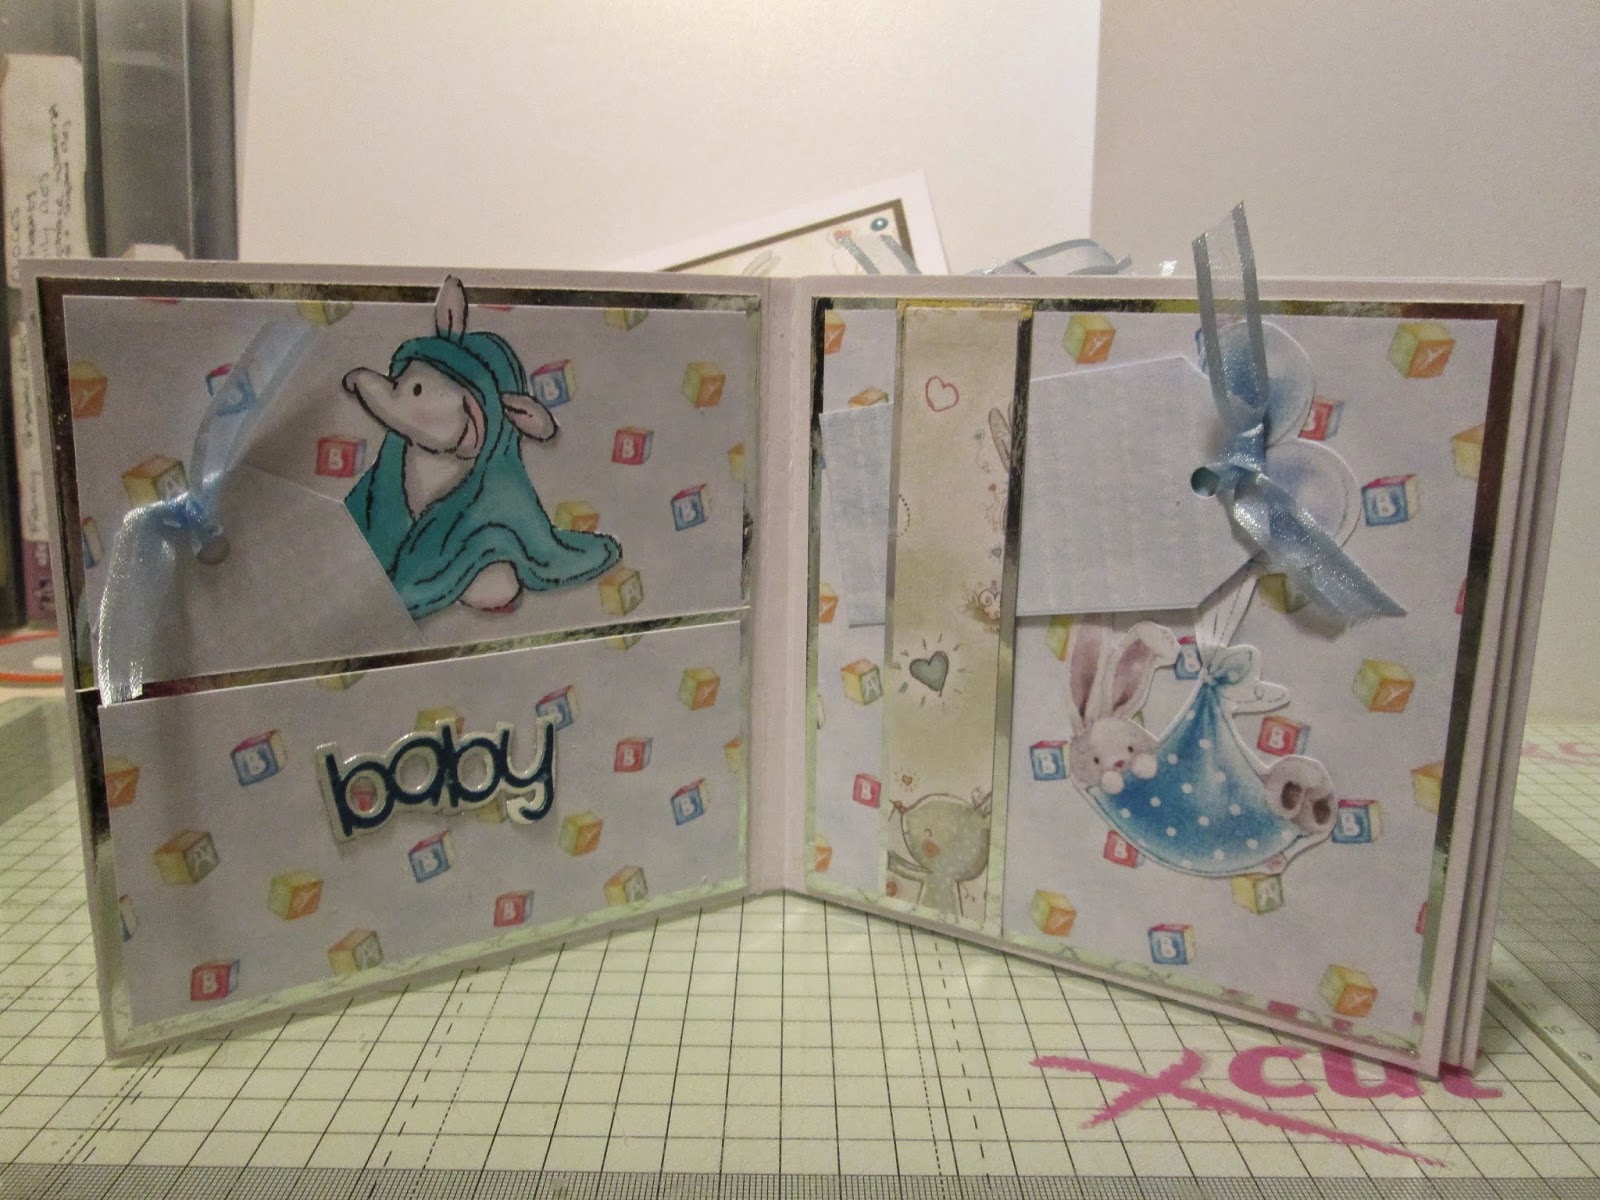
You can them decorate the pages and add pockets and tags, so you can add photo's into the pockets and write on the tags.
I have used mainly Crafter's Companion products to decorate my books (but with the odd die cut or stamp added in), starting with Centura Pearl card stock (snow white), and have printed backing papers and toppers, from the following CD's. Bebunni, Popcorn Soufflé, Rachelle Ann Miller - animal adventures and Humphrey. I have also used Humphrey stamps and coloured with Spectrum Noir pens (IG1, 2, 3 for Humphrey and for the blue blanket TB1, 4, IB2, and for the yellow blanket CT1, 2, LY3) and used the blender pen on all to soften the colours.
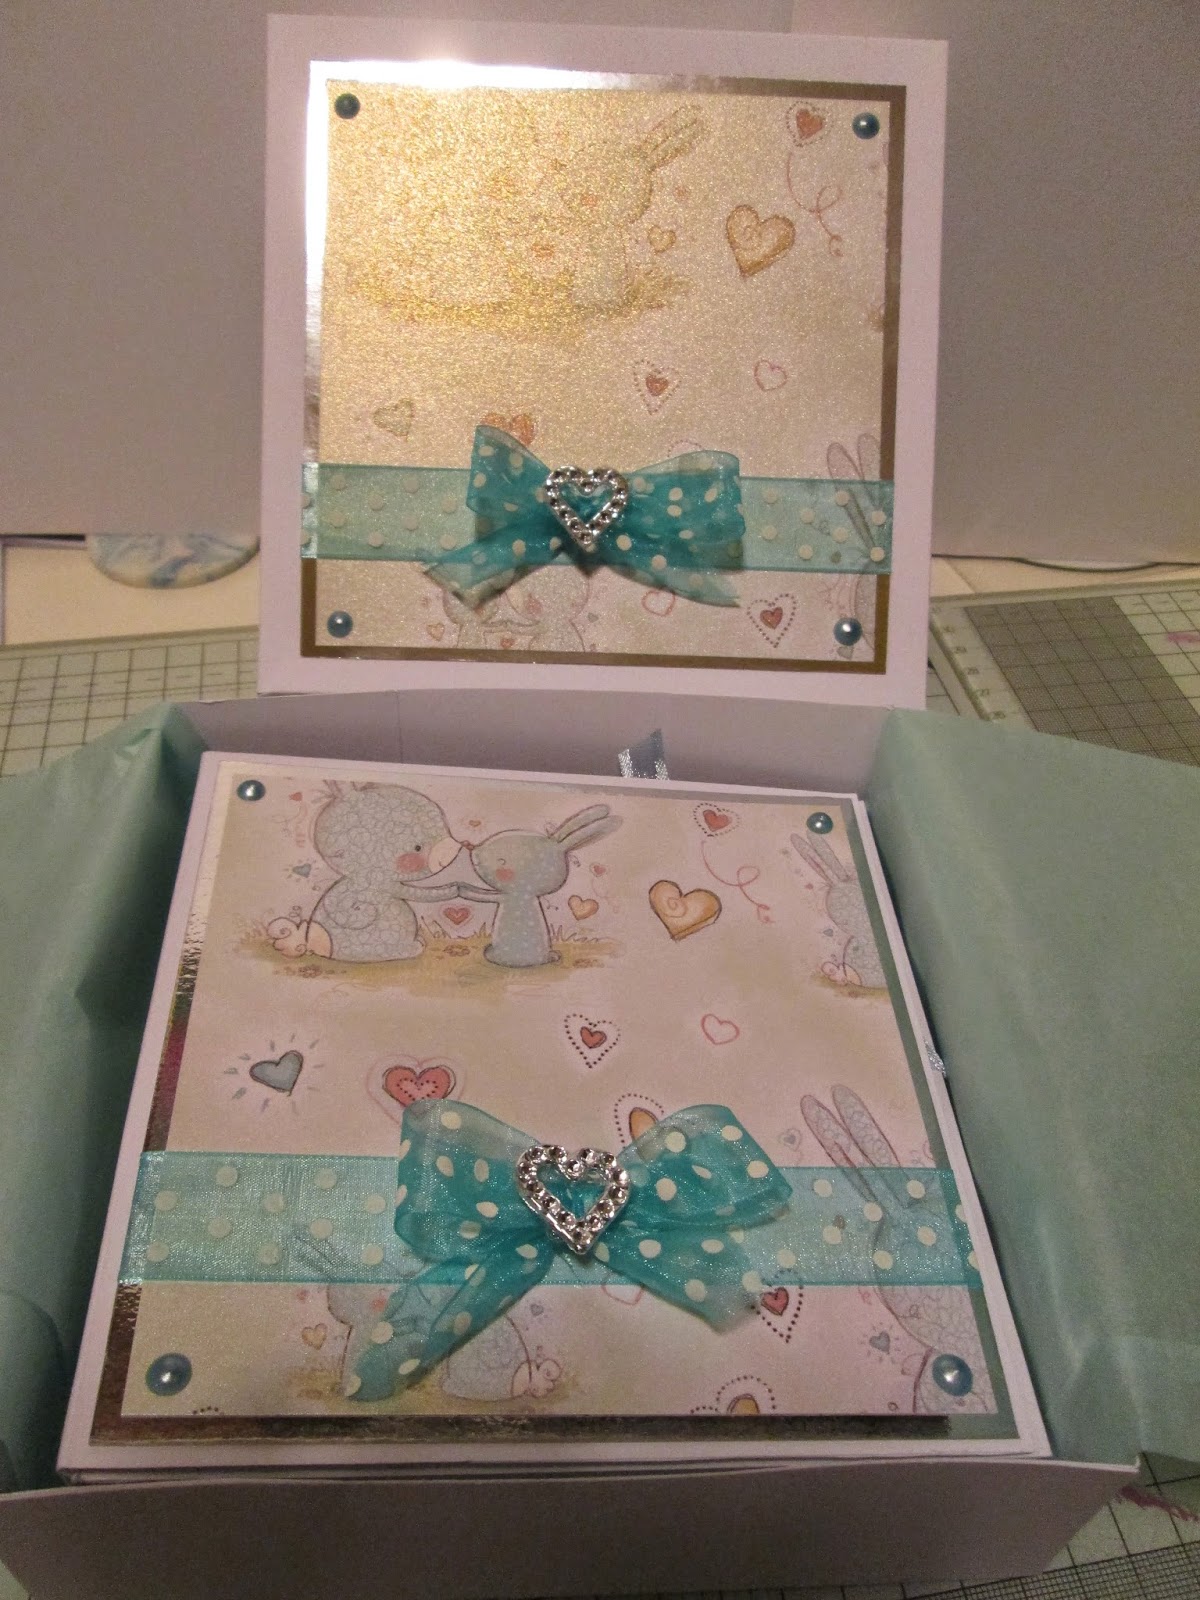
The box I made again from Snow White Centura Pearl card and used A3 card (2 pieces) I cut both to 26 cm square and scored at 5 cm from each end on all four sides (1 using the LID side of the big score (box scoring board) and one using the BASE of the big score). I then cut triangles from each corner and stuck down. I added tissue paper to the inside of the book can be placed on the tissue paper inside the box and then wrapped round with the tissue before putting the lid of the box, which matches exactly the front of the book.
They do take about 4 hours to make each - this is so much better than my first one which took me 11 hours to make after I finished figuring out all the measurements for how to make the spine and book.
Well worth the time it takes I think.
I have tried to take pictures of all pages, including front and back of the book and also the box. There are photo's of two books - a blue one and a lemon one, pictures are below.
Thanks for looking.
TTFN, happy crafting.
Debs x
Yes, OK, well I got a bit carried away with creating these books..... the amount of idea's I have had regarding what others I can do bragging books for - weddings, christenings, new babies, boys and girls (and twins if needed, triplets.....) and on and on and on, the list endless.
I have created these books based on 14 1/2cm square, which is a lovely size for them. And they are about 3 1/2 cm deep and I make a matching box for them to sit in (in tissue paper). To make the cover and spine of the books, I used a piece of A3 centura pearl card stock and cut to 14 1/2cm wide and left as full length, for the spine I measures in 14 1/2 cm then scored at every 1/2 cm to create a mountain and valley fold and a spare then repeated (the spare is so you have a gap between the pagers) carry on doing this for the amount of pages you want), after the last score line, measure 14 1/2cm then cut off at this point. Fold and stick every 2nd and 3rd score line so it creates a sticky out bit to stick your pages to (sorry - sticky out bit is not a technical term) ;-) and repeat for the number of pages you want. It should look like the image below.
-----------^-^-^-^-^-^------------
Stick your pages on to each sticky out bit (1 page is 14 1/2cm square) and stick one on each side of the sticky out bit to ensure solid. Finally taking the 2nd A3 piece of card you cut down to 14 1/2cm wide stick this to the first end (14 1/2cm of the spine), then stick the spine done, then finally the other end of the card (14 1/2cm) and trim to match.
You can them decorate the pages and add pockets and tags, so you can add photo's into the pockets and write on the tags.
I have used mainly Crafter's Companion products to decorate my books (but with the odd die cut or stamp added in), starting with Centura Pearl card stock (snow white), and have printed backing papers and toppers, from the following CD's. Bebunni, Popcorn Soufflé, Rachelle Ann Miller - animal adventures and Humphrey. I have also used Humphrey stamps and coloured with Spectrum Noir pens (IG1, 2, 3 for Humphrey and for the blue blanket TB1, 4, IB2, and for the yellow blanket CT1, 2, LY3) and used the blender pen on all to soften the colours.
The box I made again from Snow White Centura Pearl card and used A3 card (2 pieces) I cut both to 26 cm square and scored at 5 cm from each end on all four sides (1 using the LID side of the big score (box scoring board) and one using the BASE of the big score). I then cut triangles from each corner and stuck down. I added tissue paper to the inside of the book can be placed on the tissue paper inside the box and then wrapped round with the tissue before putting the lid of the box, which matches exactly the front of the book.
They do take about 4 hours to make each - this is so much better than my first one which took me 11 hours to make after I finished figuring out all the measurements for how to make the spine and book.
Well worth the time it takes I think.
I have tried to take pictures of all pages, including front and back of the book and also the box. There are photo's of two books - a blue one and a lemon one, pictures are below.
Thanks for looking.
TTFN, happy crafting.
Debs x
Subscribe to:
Posts (Atom)