Hello all,
I am glad you can join me, I am making a wonderful card from The Printable Craft Shop - A shelf card, it does look amazing, but may look hard to make. I will break it down for you in stages to show how easy it actually is to make.
Firstly you need to visit The Printable Craft Shop to purchase and down load your chosen card. Be warned, there are loads of beautiful cards on their site it will be very hard to choose just 1. The link to their store is:
www.printable-craftshop.com
The link for the actual shelf cards is:
https://the-printable-craft-shop-2.myshopify.com/collections/featured-special-offers/products/all-about-shelf-cards-mega-bundle?variant=19059178054
To start, print out all elements you need for your card. For the shelf card, you will need to print 2 sheets for the envelope, and 4 sheets for the actual card. I recommend you print on 300 gsm card stock for stability as it is a moveable card and you want it to be sturdy. If you cannot print above 200 gsm (some printers won't take more gsm than this, then print on 160 or 200 gsm and back on to another piece of card of the same gsm).
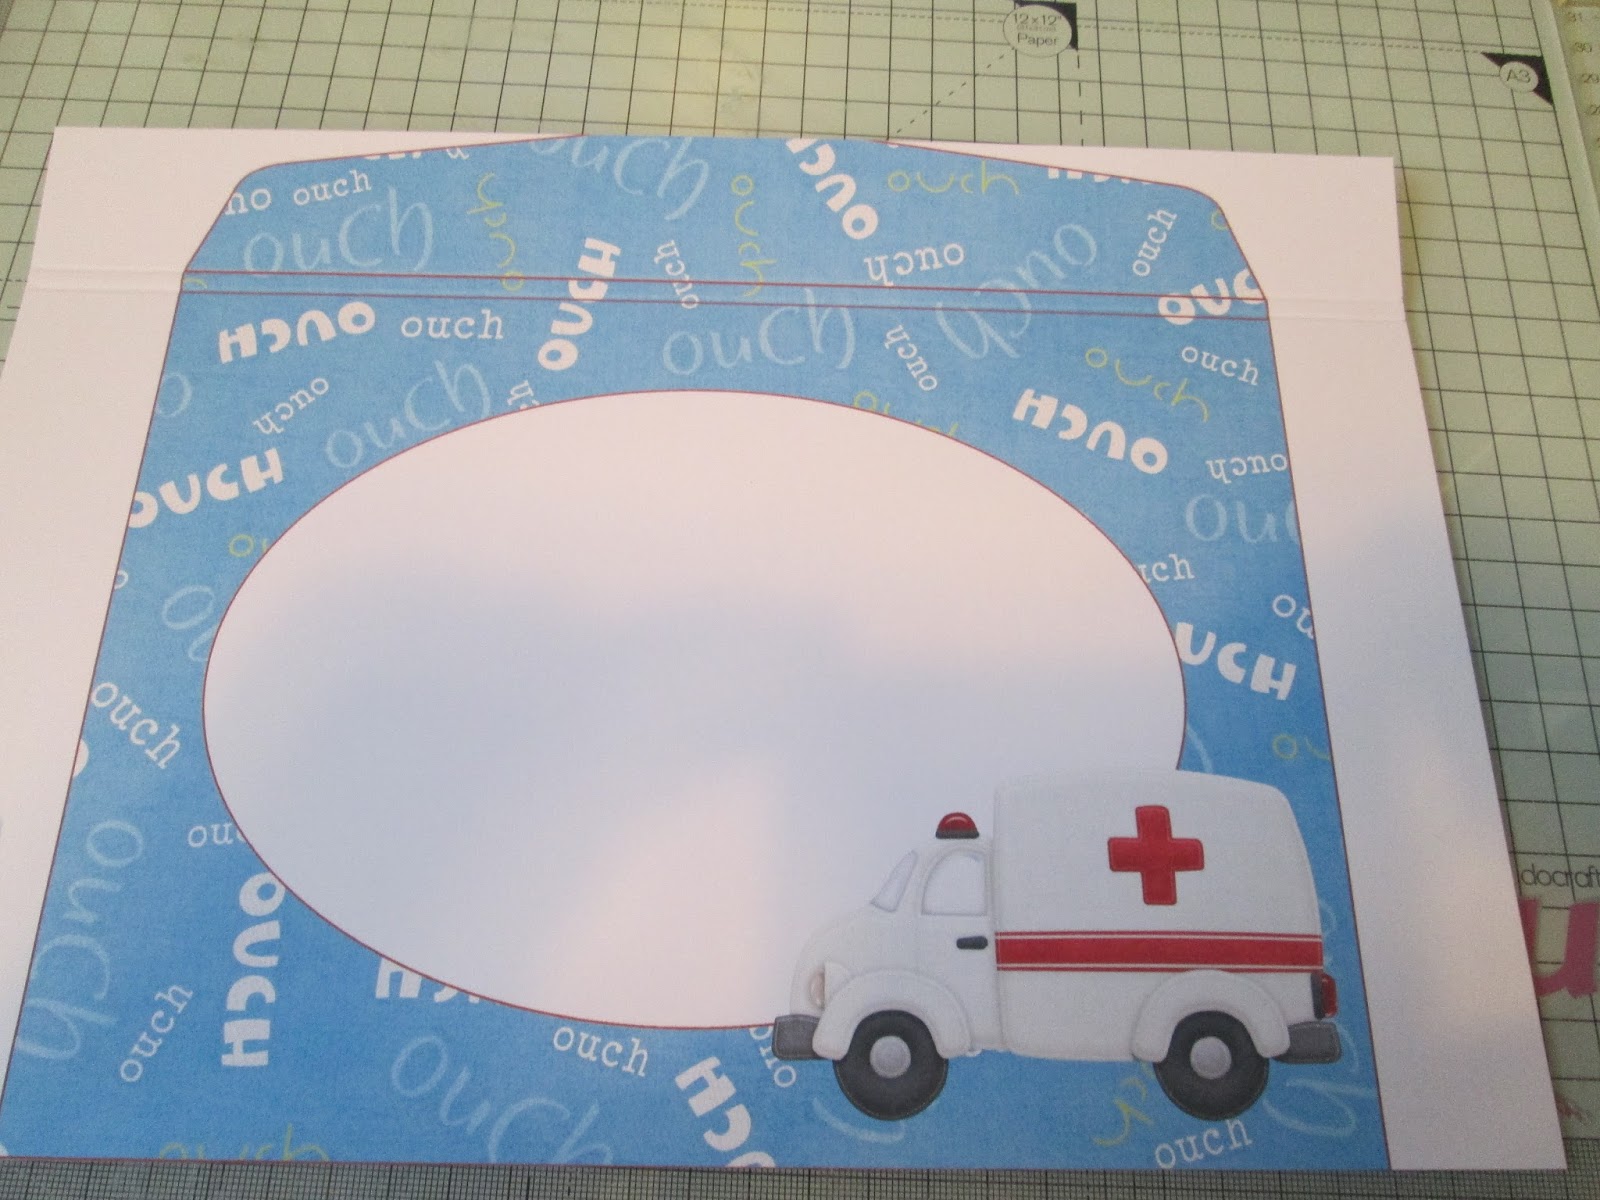
Cut out all red cut lines and score all dashed/dotted red lines.
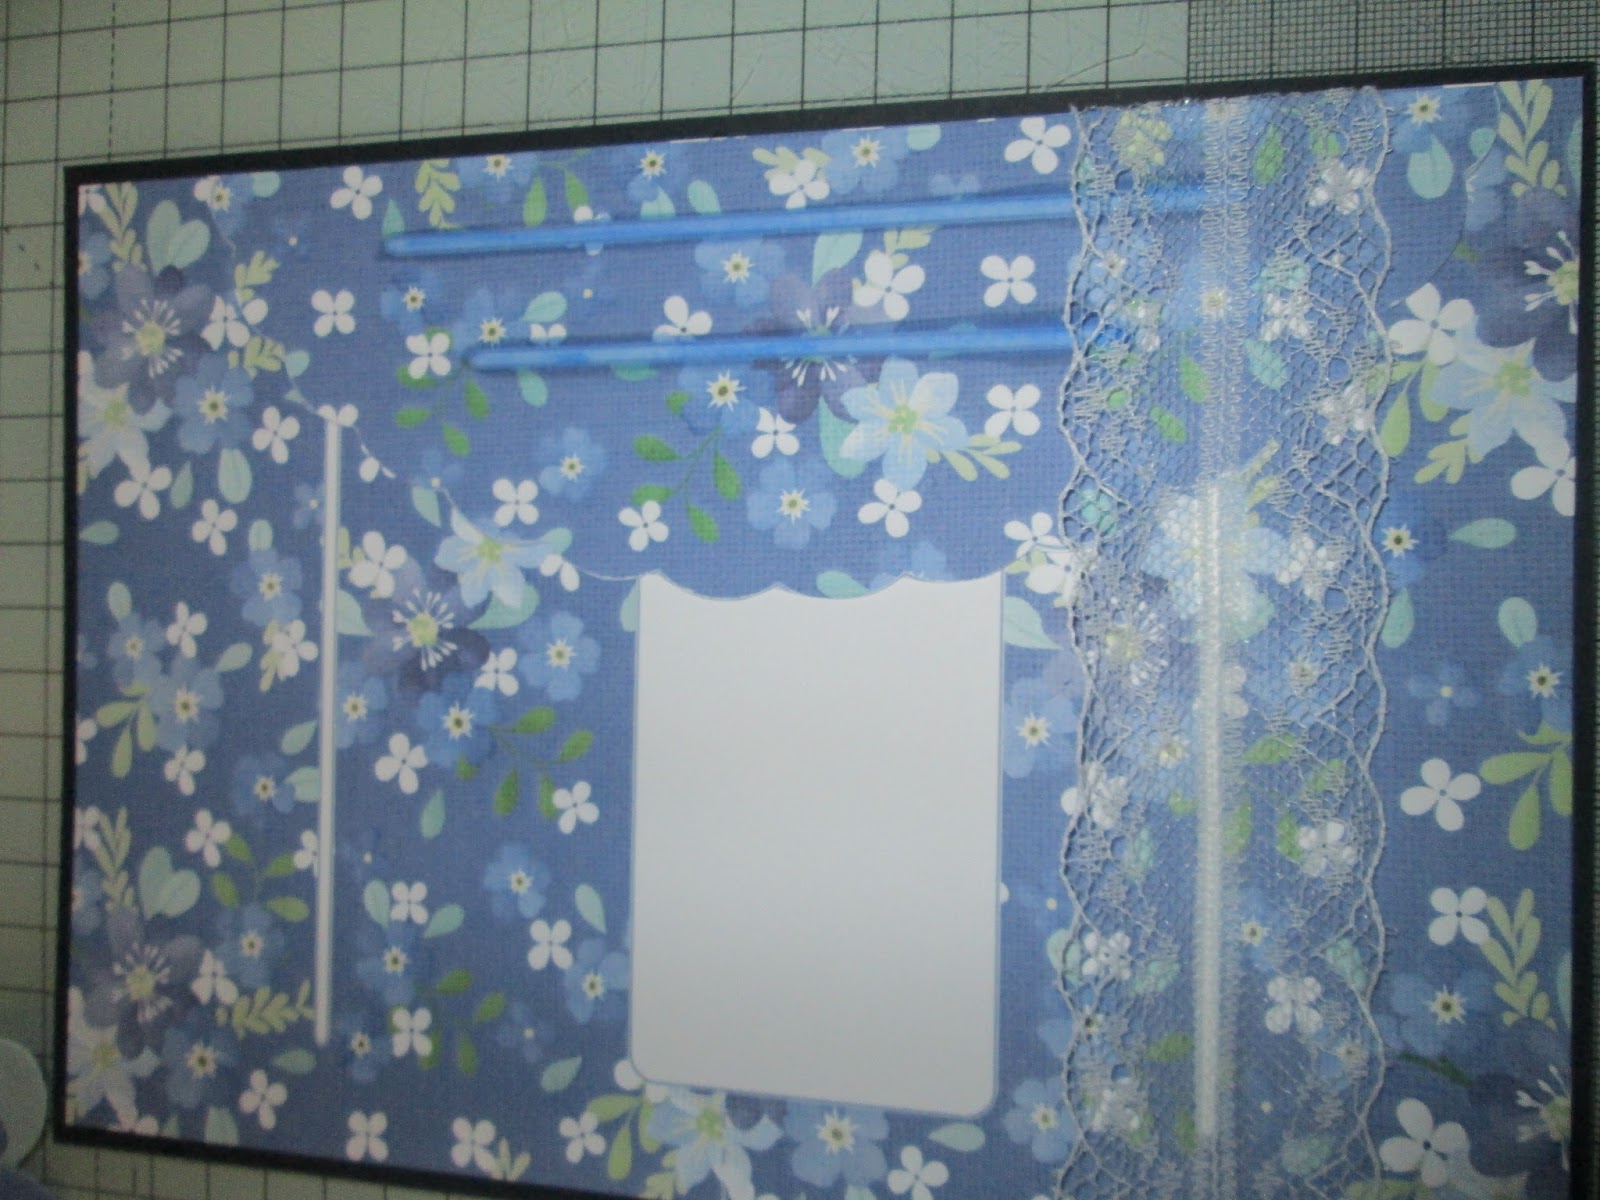
Printed sheets for cards. On the main card section you will see white slots, these need cutting out, I found a craft knife and ruler best to cut this out with. You will also have to cut out slots on the shelf element of the card aslo.
Once cut out and scored (red dashed/dotted lines are score lines - red solid lines are cut lines), you have all the elements ready to start putting the card together.
Starting with the main card, fold in half (forming a tent card).
Taking the shelf elements, slide this through the front slot and through the back slot - you will need to fold in the tabs on the shelf before sliding through the slots, then open out once through both slots - this will hold the shelf in place.
Take the element with the ambulance and decoupage it up, folding in the side tabs slide this element into the slot nearest the centre of the card on the shelf and open the side tabs, this will now stand up.
Take the element with with the medicine bag and decoupage up, fold in the side tabs and slide this down the centre of the main card in to the slot in the centre of the shelf and open up the tabs to allow it to stand upright.
Finally, take the last element with the pill on it, choose which sentiment you would like and decoupage up. You can stamp on the blank one if you wish with your own sentiment. Slide this in to the front slot on the shelf.
You have now finished the card.
To fold the card flat for posting simply open out all the flaps and it will close flat. To stand up re-position the flaps again.
These cards are so unique and look wonderful - and as you now know, they are easy to make.
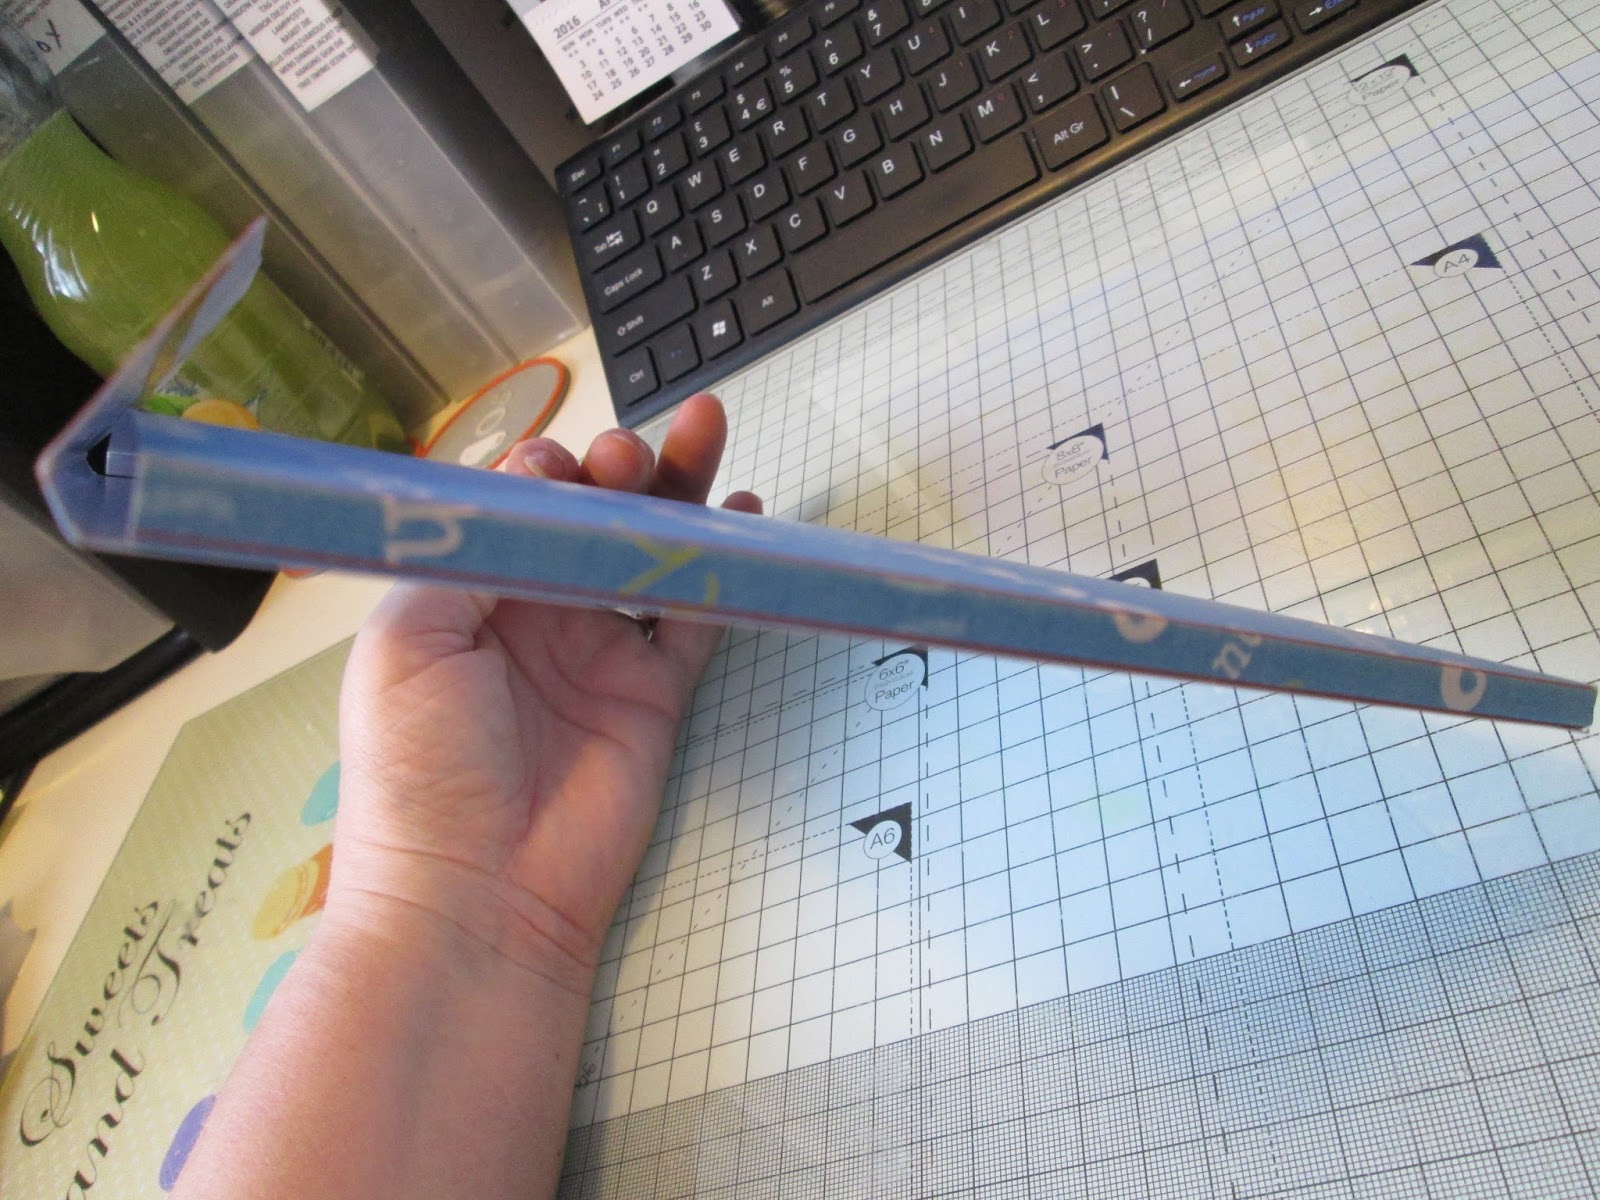
To make the envelope, cut out both sheets and score on the solid red lines, this forms a box style envelope - you will have a 1/2 cm depth to the envelope to allow you to put more 3D style projects in the envelope, this is the finished envelope with the card inside.
Print out the front and back of the envelope.
and cut out and score the lines.
once cut out and scored, add tape to the back part of the envelope where indicated to enable you to stick the envelope together.
Once stuck together you get an envelope with a 1/2 depth.
Finished envelope with card.
Thank you for taking the time to look at my project made for The Printable Craft Shop.
Until next time. TTFN, happy crafting.
Debs x