Today I worked on my alternative card from The Printable Craft Shop, I used the following card kits.
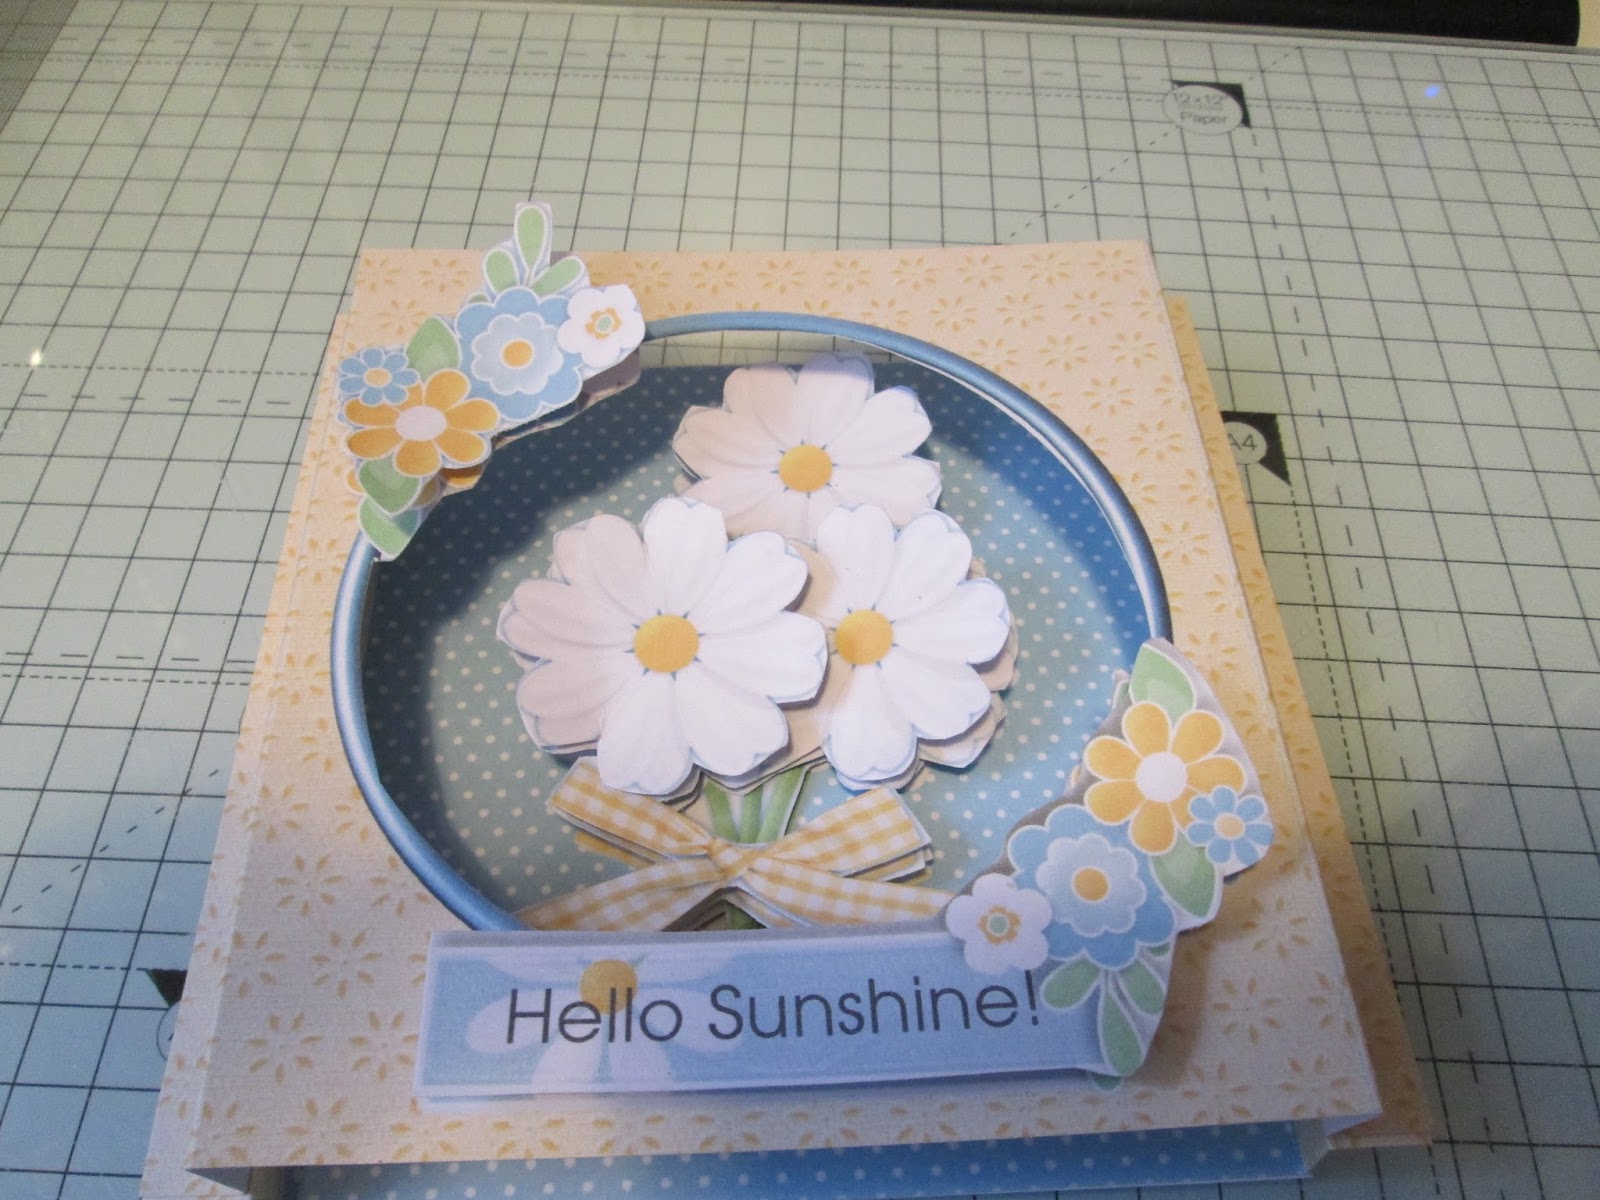
Hello Sunshine Shadow Box Card
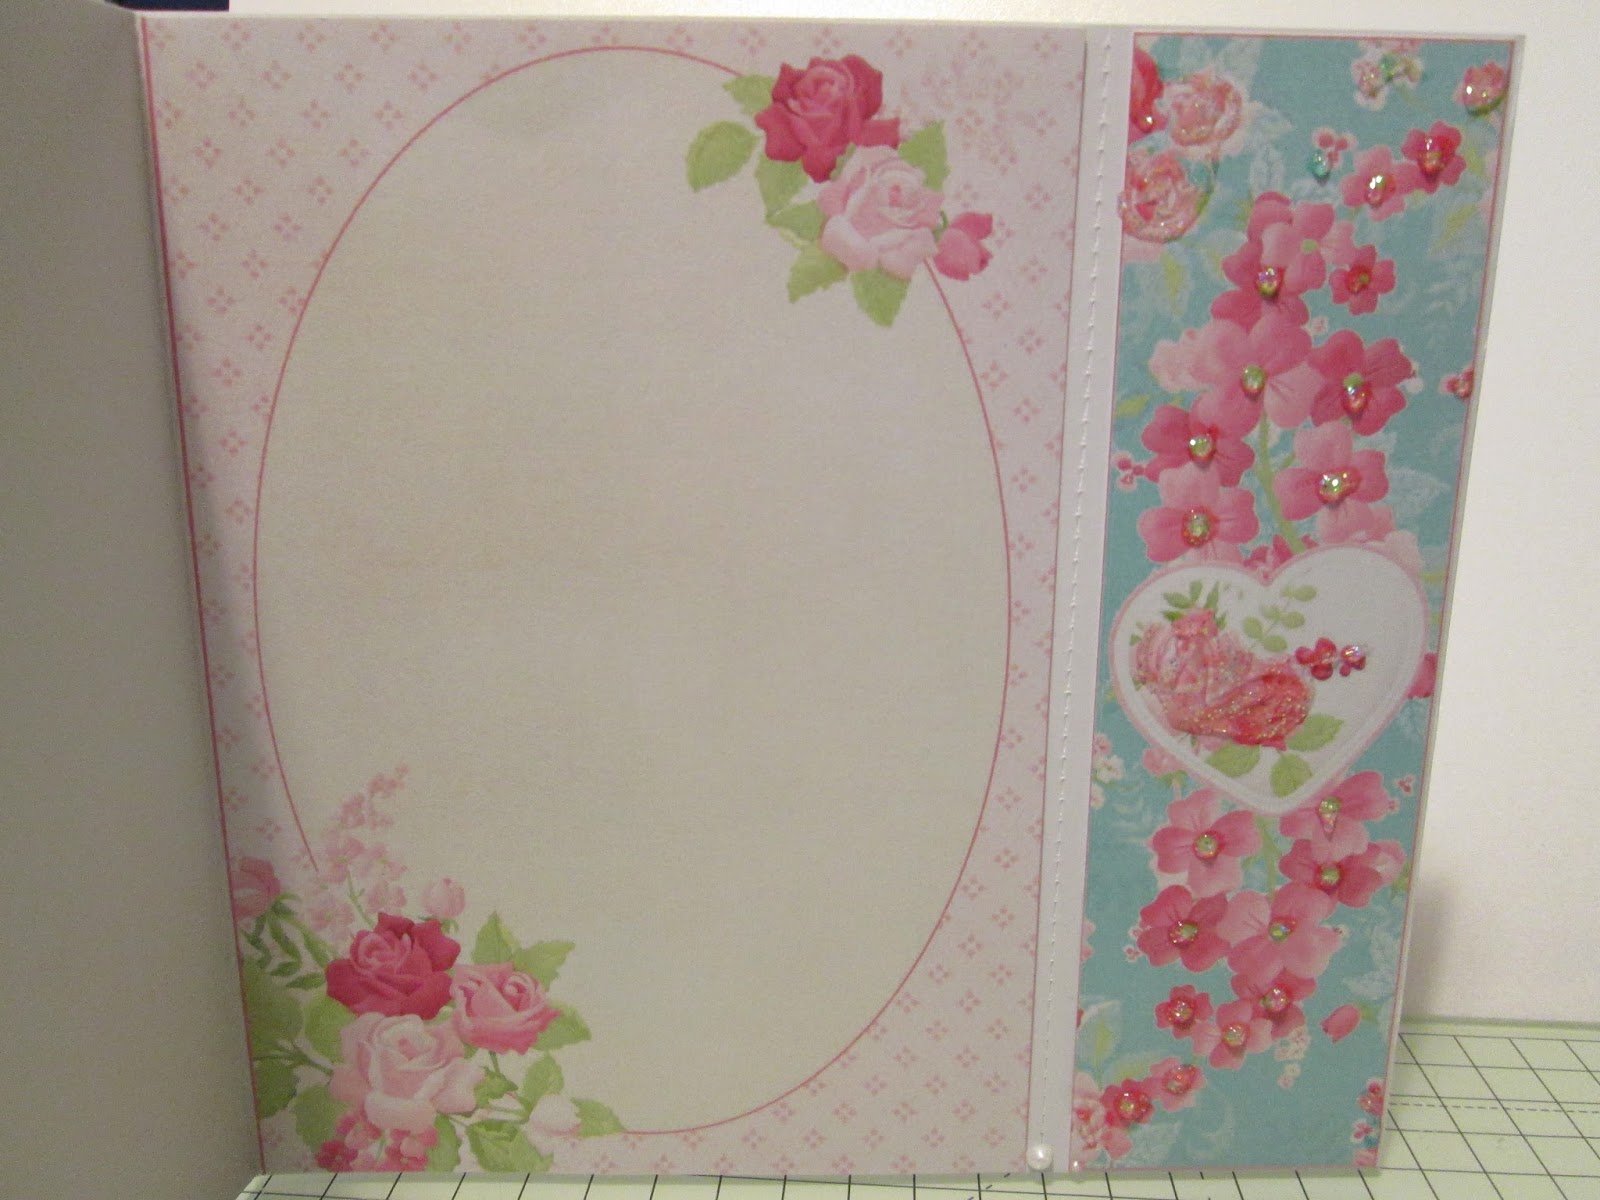
Purple and White Flower Topper Sheet
Butterfly Slider Card
You can purchase and down load these kits from The Printable Craft Shop - link below.
.www.printable-craftshop.com.
I started with the backing paper for Hello Sunshine (which you can print double sided or you can print two sheets and matt and layer - I recommend at least 250 gsm card stock for this) and scored this at 7 cm, 14 cm, 21 cm, 28 cm and turned and scored at 12 cm.


To make up the box, taken the small tab on the left side and stick to the inside of the right side, forming a box.


I printed out the topper sheets for Hello Sunshine and Purple and White Flower topper sheet and Butterfly slider card and cut into them and cut out all the flowers, the butterfly and the tags an oval topper. I used these to decorate my pop up box by sticking the flowers to the two central panels we added earlier.


I stick these to the inside panels, sides and back of the pop up box card. Giving you the finished card below.


Please join me for my next project - coming soon.
TTFN, Happy Crafting.
Debs